This is a t-shirt sale to raise funds for the Charleston Community Bee Gardens. We strive to make a place for beekeepers without a place to keep bees, educate the public about bees and beekeeping, and promote pollinator friendly yard and garden practices.
I found out the hard way that when a new nonprofit group is starting up and you keep showing up to the meetings, you end up being on the board….so I’m the treasurer. Our treasury is a bit on the empty side right now though and we have so many plans for 2015. We will be hosting beekeeping classes, attending all sorts of garden and bee related events, and finally installing hives at some of the apiary sites we have been working on.
Bee friendly and share our campaign please. This sale ends 2/15/15. Thanks in advance.
Let the beekeeper handle it! | Teespring January 25, 2015
2015 Seedlings
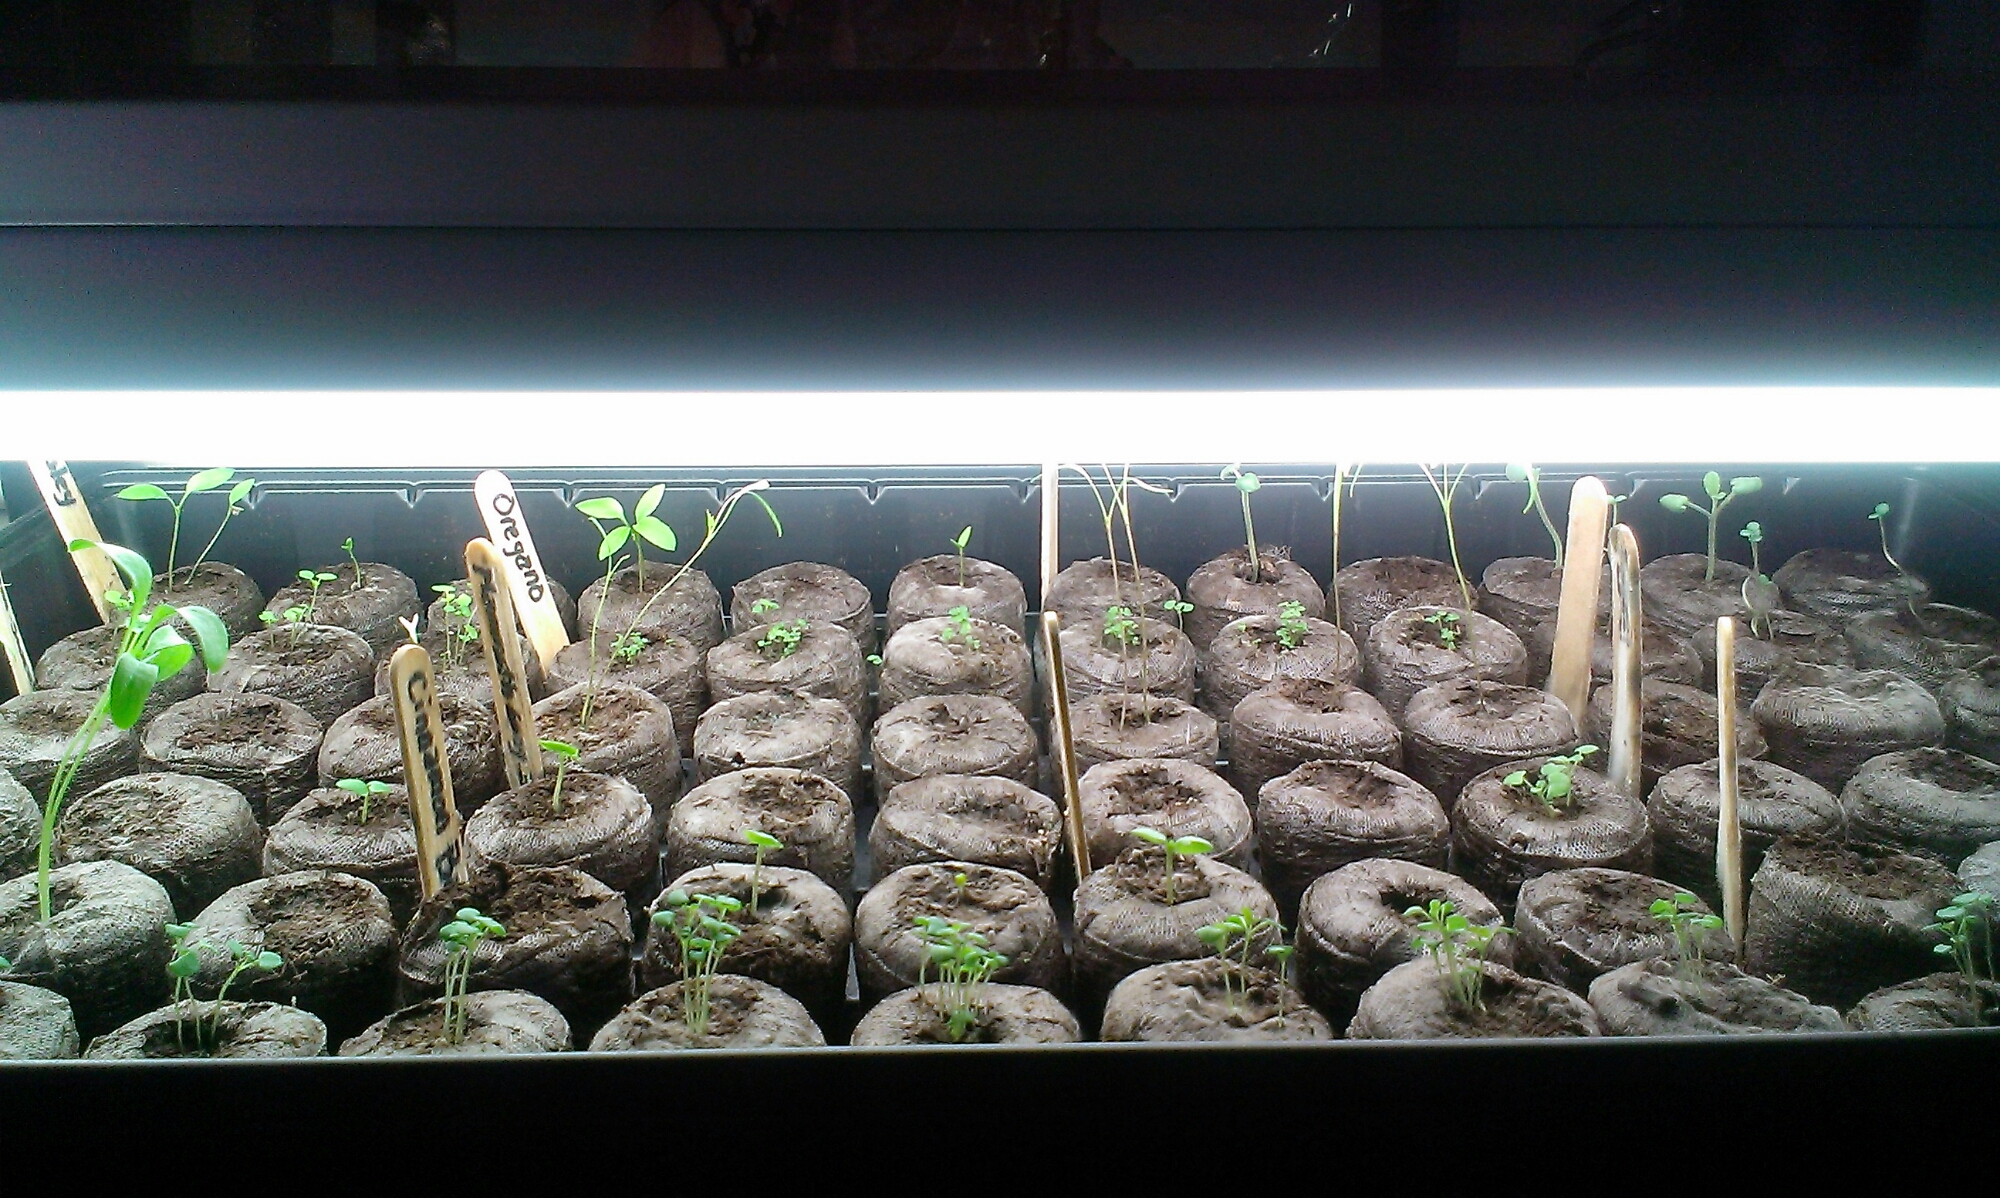
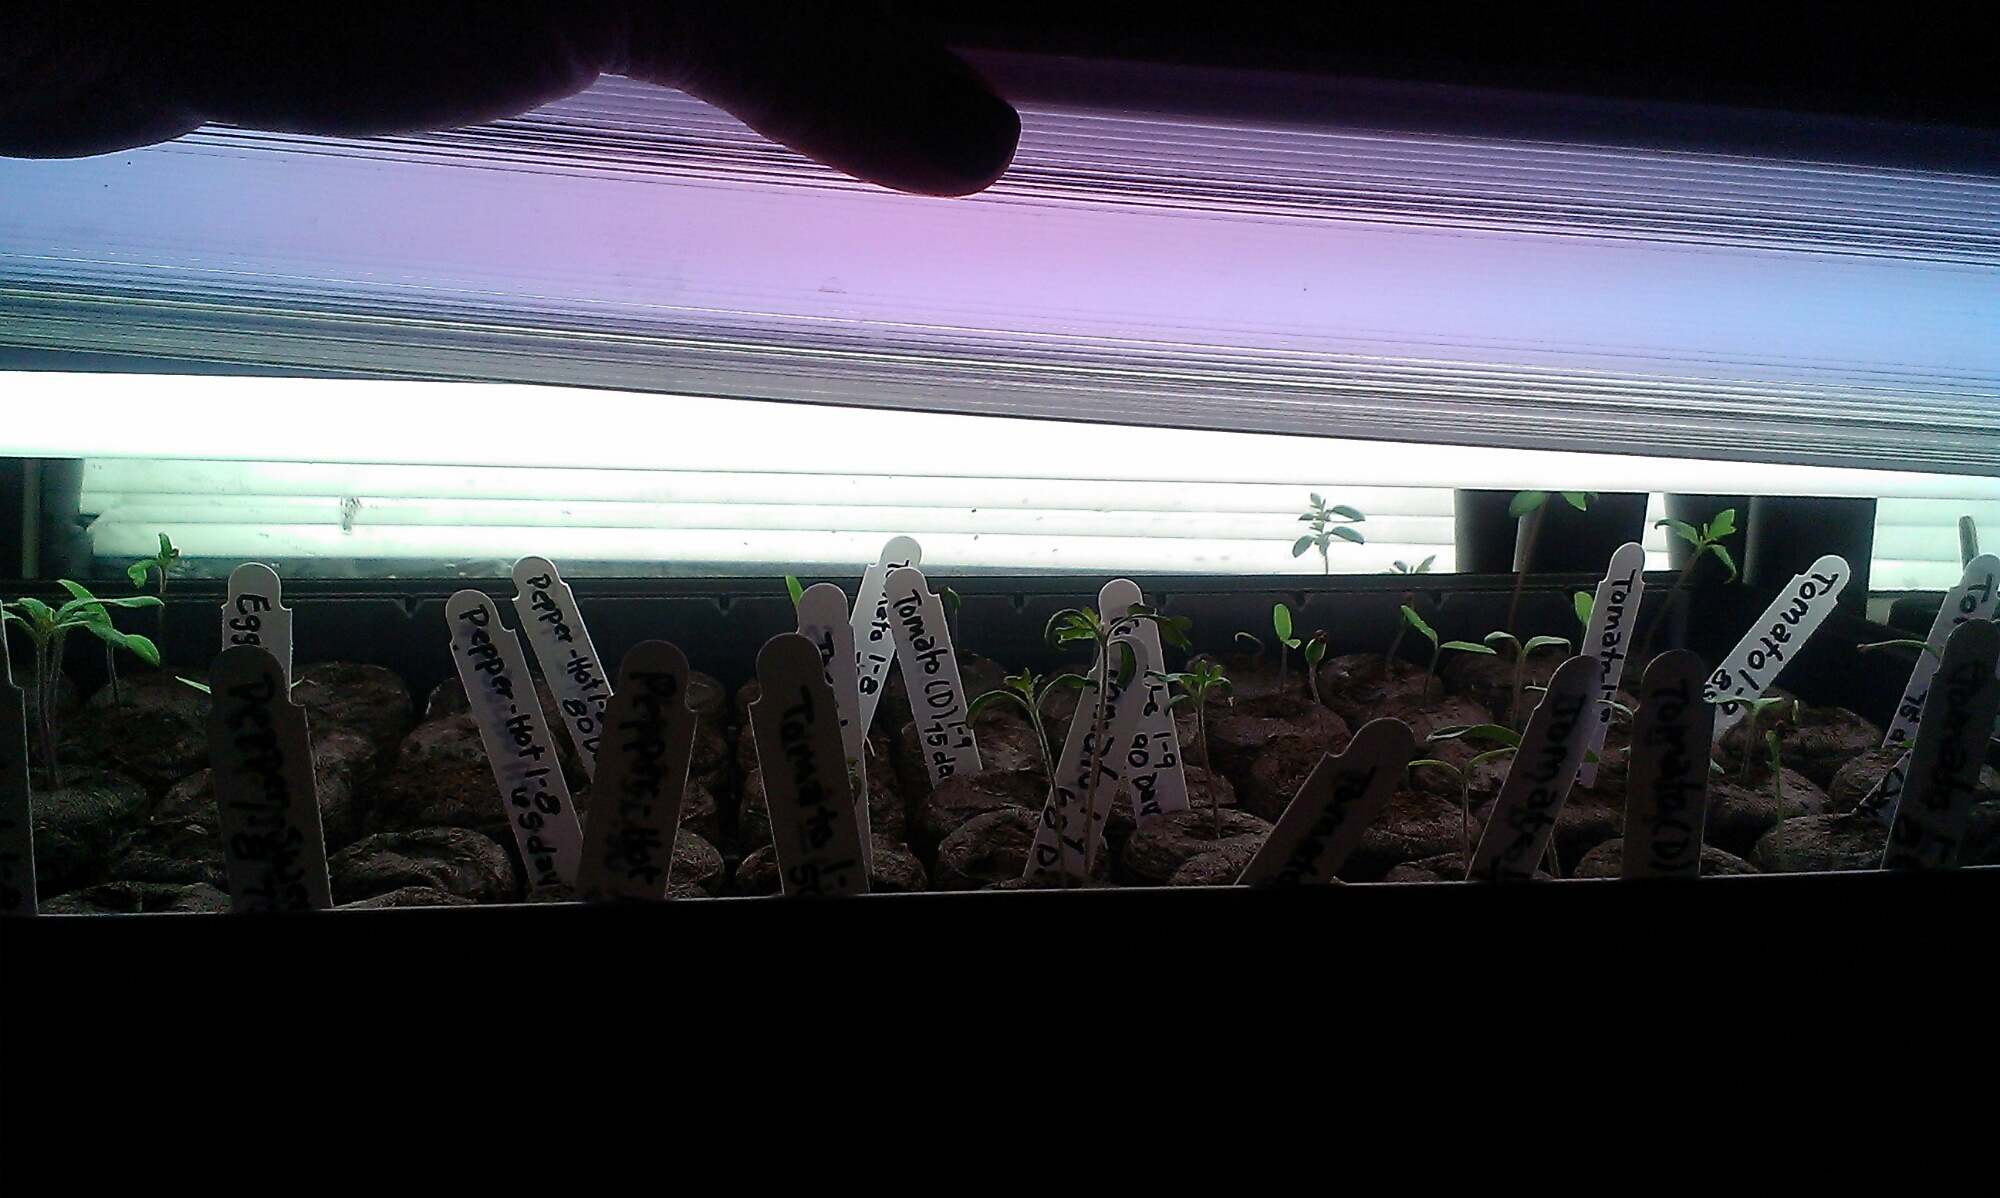
I have 3 trays of seedlings going do far and 3 more to be planted. One tray has tomatoes, peppers, eggplants, tomatillos, and ground cherries. It is on a hearing pad to keep the soil temperature up until all of the seeds germinate.
Another tray has herbs. These I started without any extra heat but I suspect that some of the herbs may have been a little quicker to germinate with the added soil warmth.
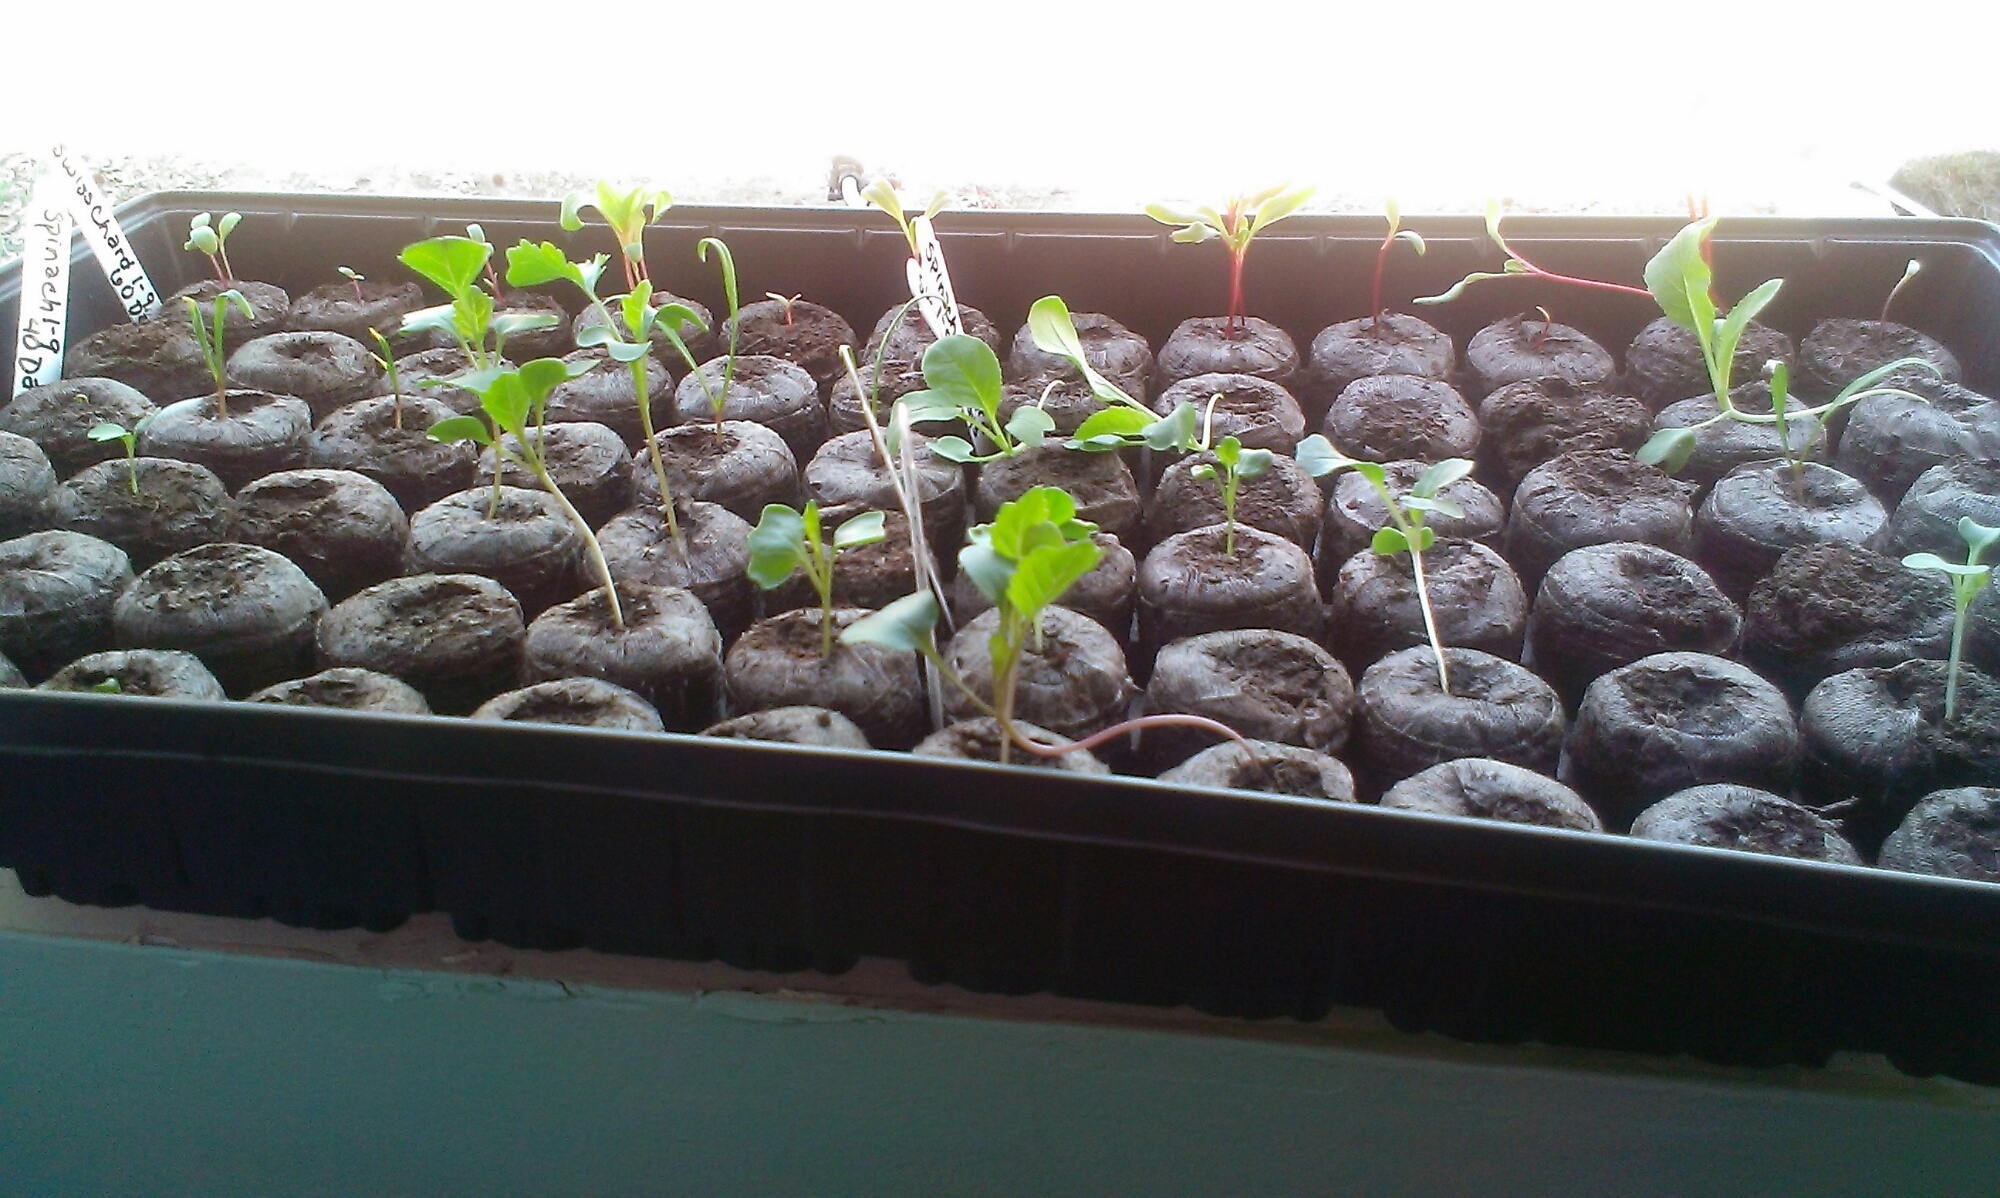
The last tray has veggies that will tolerate cool weather. They will be moved outside much sooner than the warm weather veggies so I have them sitting in an open window today to start getting accustomed to outdoor conditions. It will still be a few weeks before they go outside and some aren’t even germinated yet. This tray might have been a little faster getting started with some bottom heat but since I only had one heating pad and the tomatoes, peppers and other warm weather crops really need the heat to germinatethey are the ones that got it.
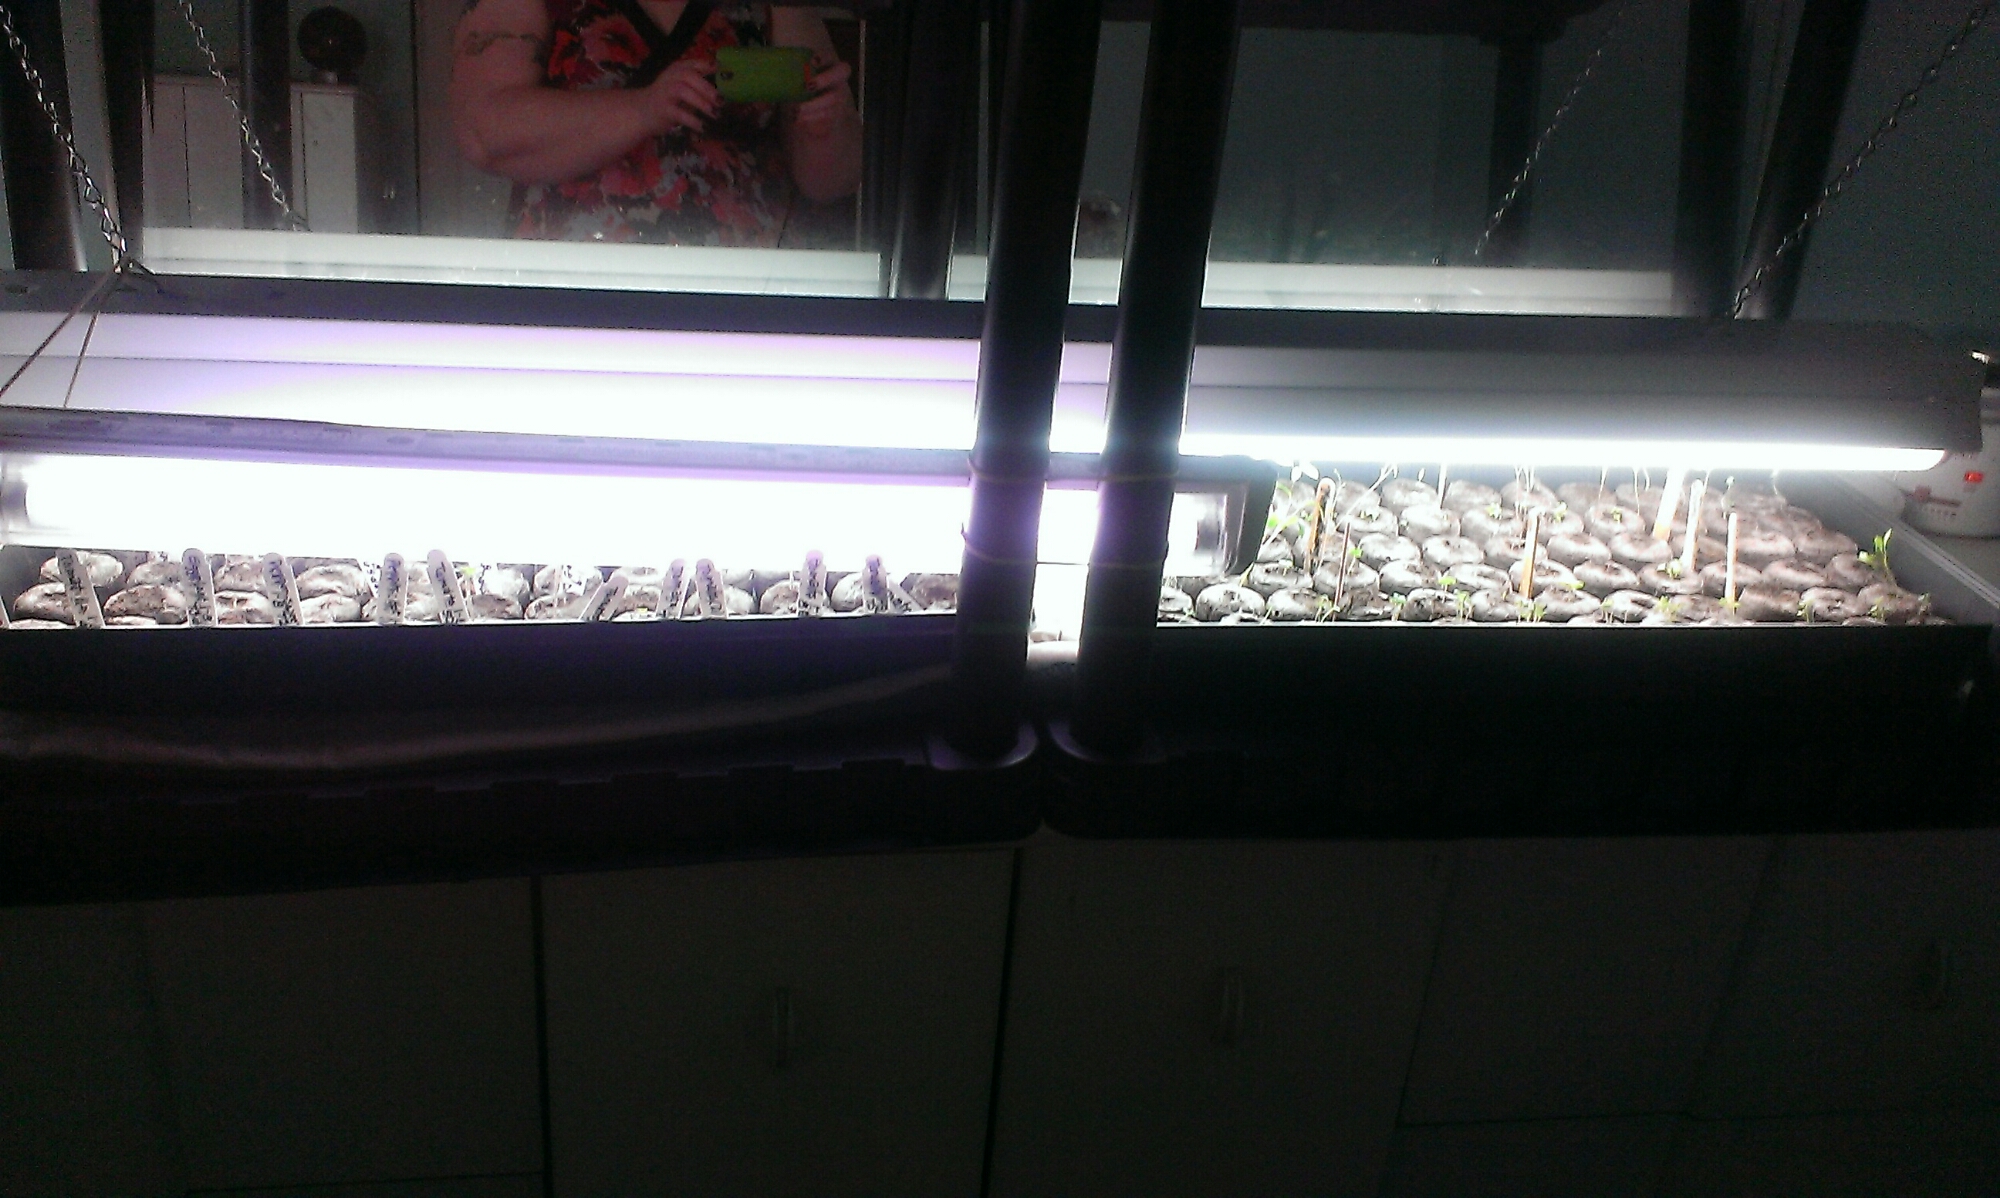
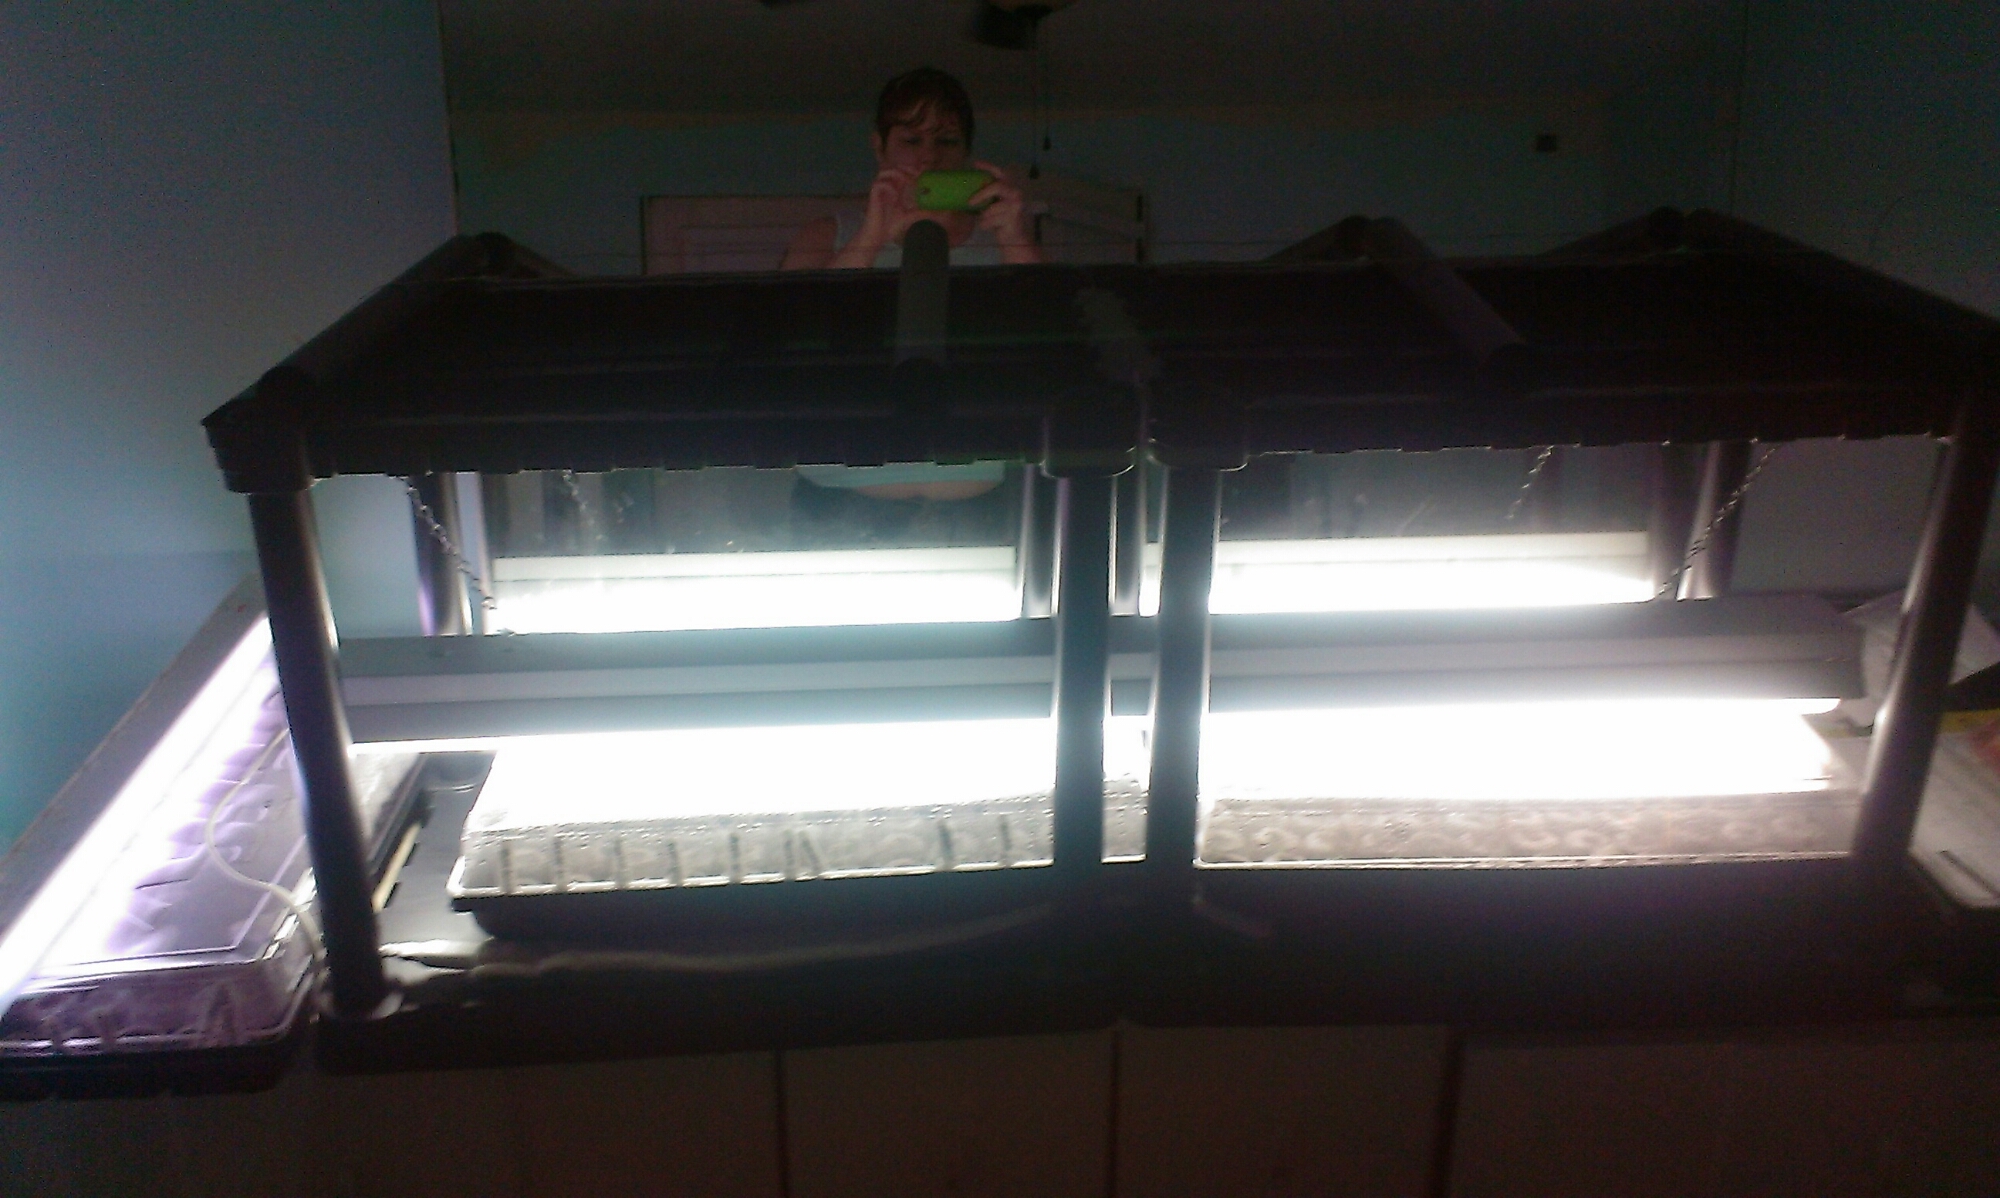
The seedlings inside have lights hung just a couple inches above them. The lights will be moved up as the plants grow. As soon as everything in the warm tray germinates I will be starting another tray of warm weather veggies, mostly more tomatoes. My grow lights are just shop lights with full spectrum bulbs. There is also some ambient light from several windows in the room.
I think one of the biggest mistakes people make when starting seedlings indoors is expecting a window sill to have enough light for seedlings. A greenhouse window or bay window might if it is on a sunny side of the house but even then you might do better by using artificial lighting to extend the daylight hours for your seedlings. I keep lights on mine for 16-18 hours a day. This helps to keep they from getting long and spindly. I have the seedlings in my bedroom with all of the lights plugged into a surge protector. I simply turn the strip on when I get up and of just before I climb into bed. There are timers you can buy that do this for you but I do just fine doing it on my own.
Another mistake people often make is not providing bottom heat for seeds that need high soil temperatures to germinate. In general plants that are grown in the summer, not early spring or fall gardens, will appreciate some heat from underneath. I am using a heating pad but another good spot is in top of the refrigerator. The up side to that ids not having to buy anything but the downside is that seedlings out of site may be out of mind. Trays should be checked daily and lights added as soon as the first seedlings start to pop their heads up through the soil. The trays should be covered to keep moisture in until germination but shortly after that the cover needs to be removed. Unless you are prepared to rig lighting over the top of your refrigerator you will need to pull the tray down before all of the seeds have germinated. Most of the summer seeds like the soil temp to be 80 or so. Even if you do keep your home 80 degrees in the winter, air temperate and soil temperature aren’t the same thing. While cool weather crops will generally tolerate cooler soil during germination even they will do poorly if the soil temperature is too low. I have had pretty good luck with them germinating at room temperature but many warm weather crop seeds will rot or mold without the bottom heat.
That is all of my seed starting wisdom for today. I’m fairly new to all of this myself so I would love to hear from you. What has worked for you? What hasn’t?
2015 seed starting January 14, 2015
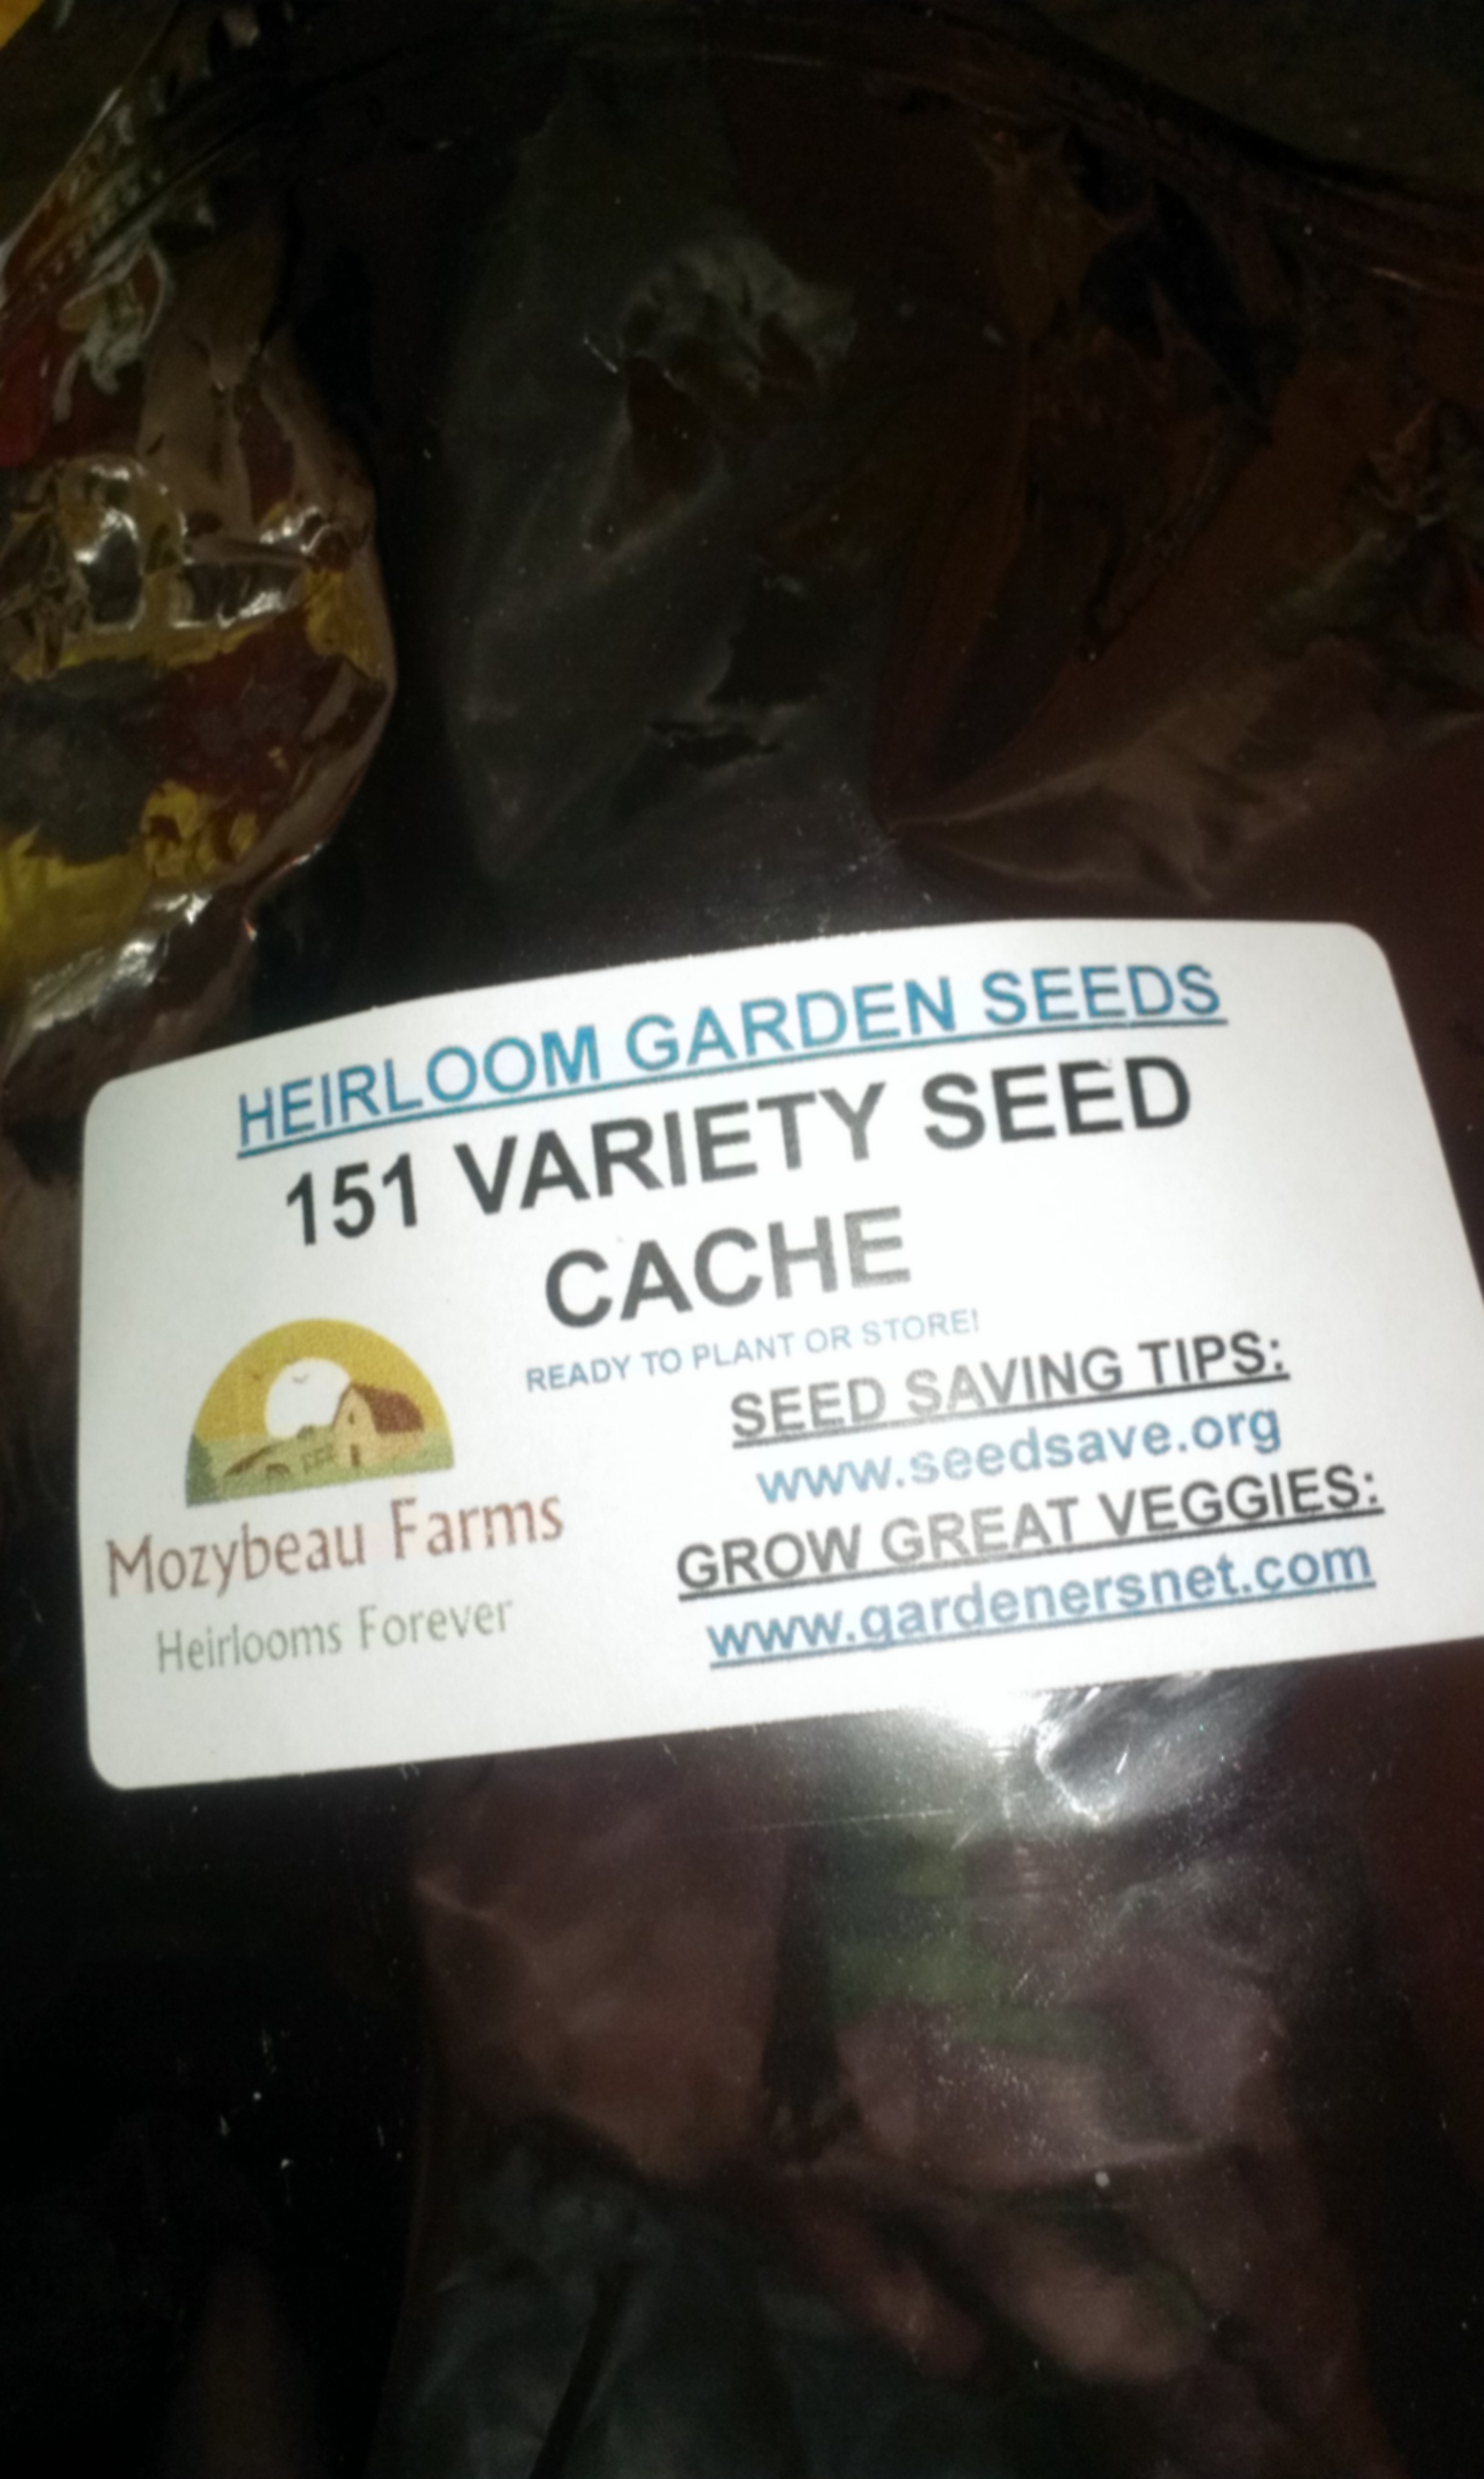
This is the beginning of my seed starting for 2015. I ordered seeds on eBay from Mozybeau Farms.
I have ordered from them before and been very happy with the varieties and results. Right now I have one tray of various cool weather crops, one tray of herbs, and one tray of tomatoes, peppers, and other warm weather crops.
The cool weather crops will be going straight from their coconut fiber seed starting pods to the garden outside, after being hardened off of course. Some of the herbs may be treated the same way depending on their hardiness. The warm weather crops will be transplanted into 4 inch pots and be living indoors for the next couple months.
A year of gardening December 29, 2014
There are so many more pictures…sometimes I get caught up in the doing and forget to take them or forget to ever post them. I have just received my seed order for next year and so it all begins again.
Beeing Good April 30, 2014
When taking a look at my bees I noticed they were carrying bits of something white out of the hive. I’m pretty inexperienced when it comes to bees but this seemed pretty abnormal to me.
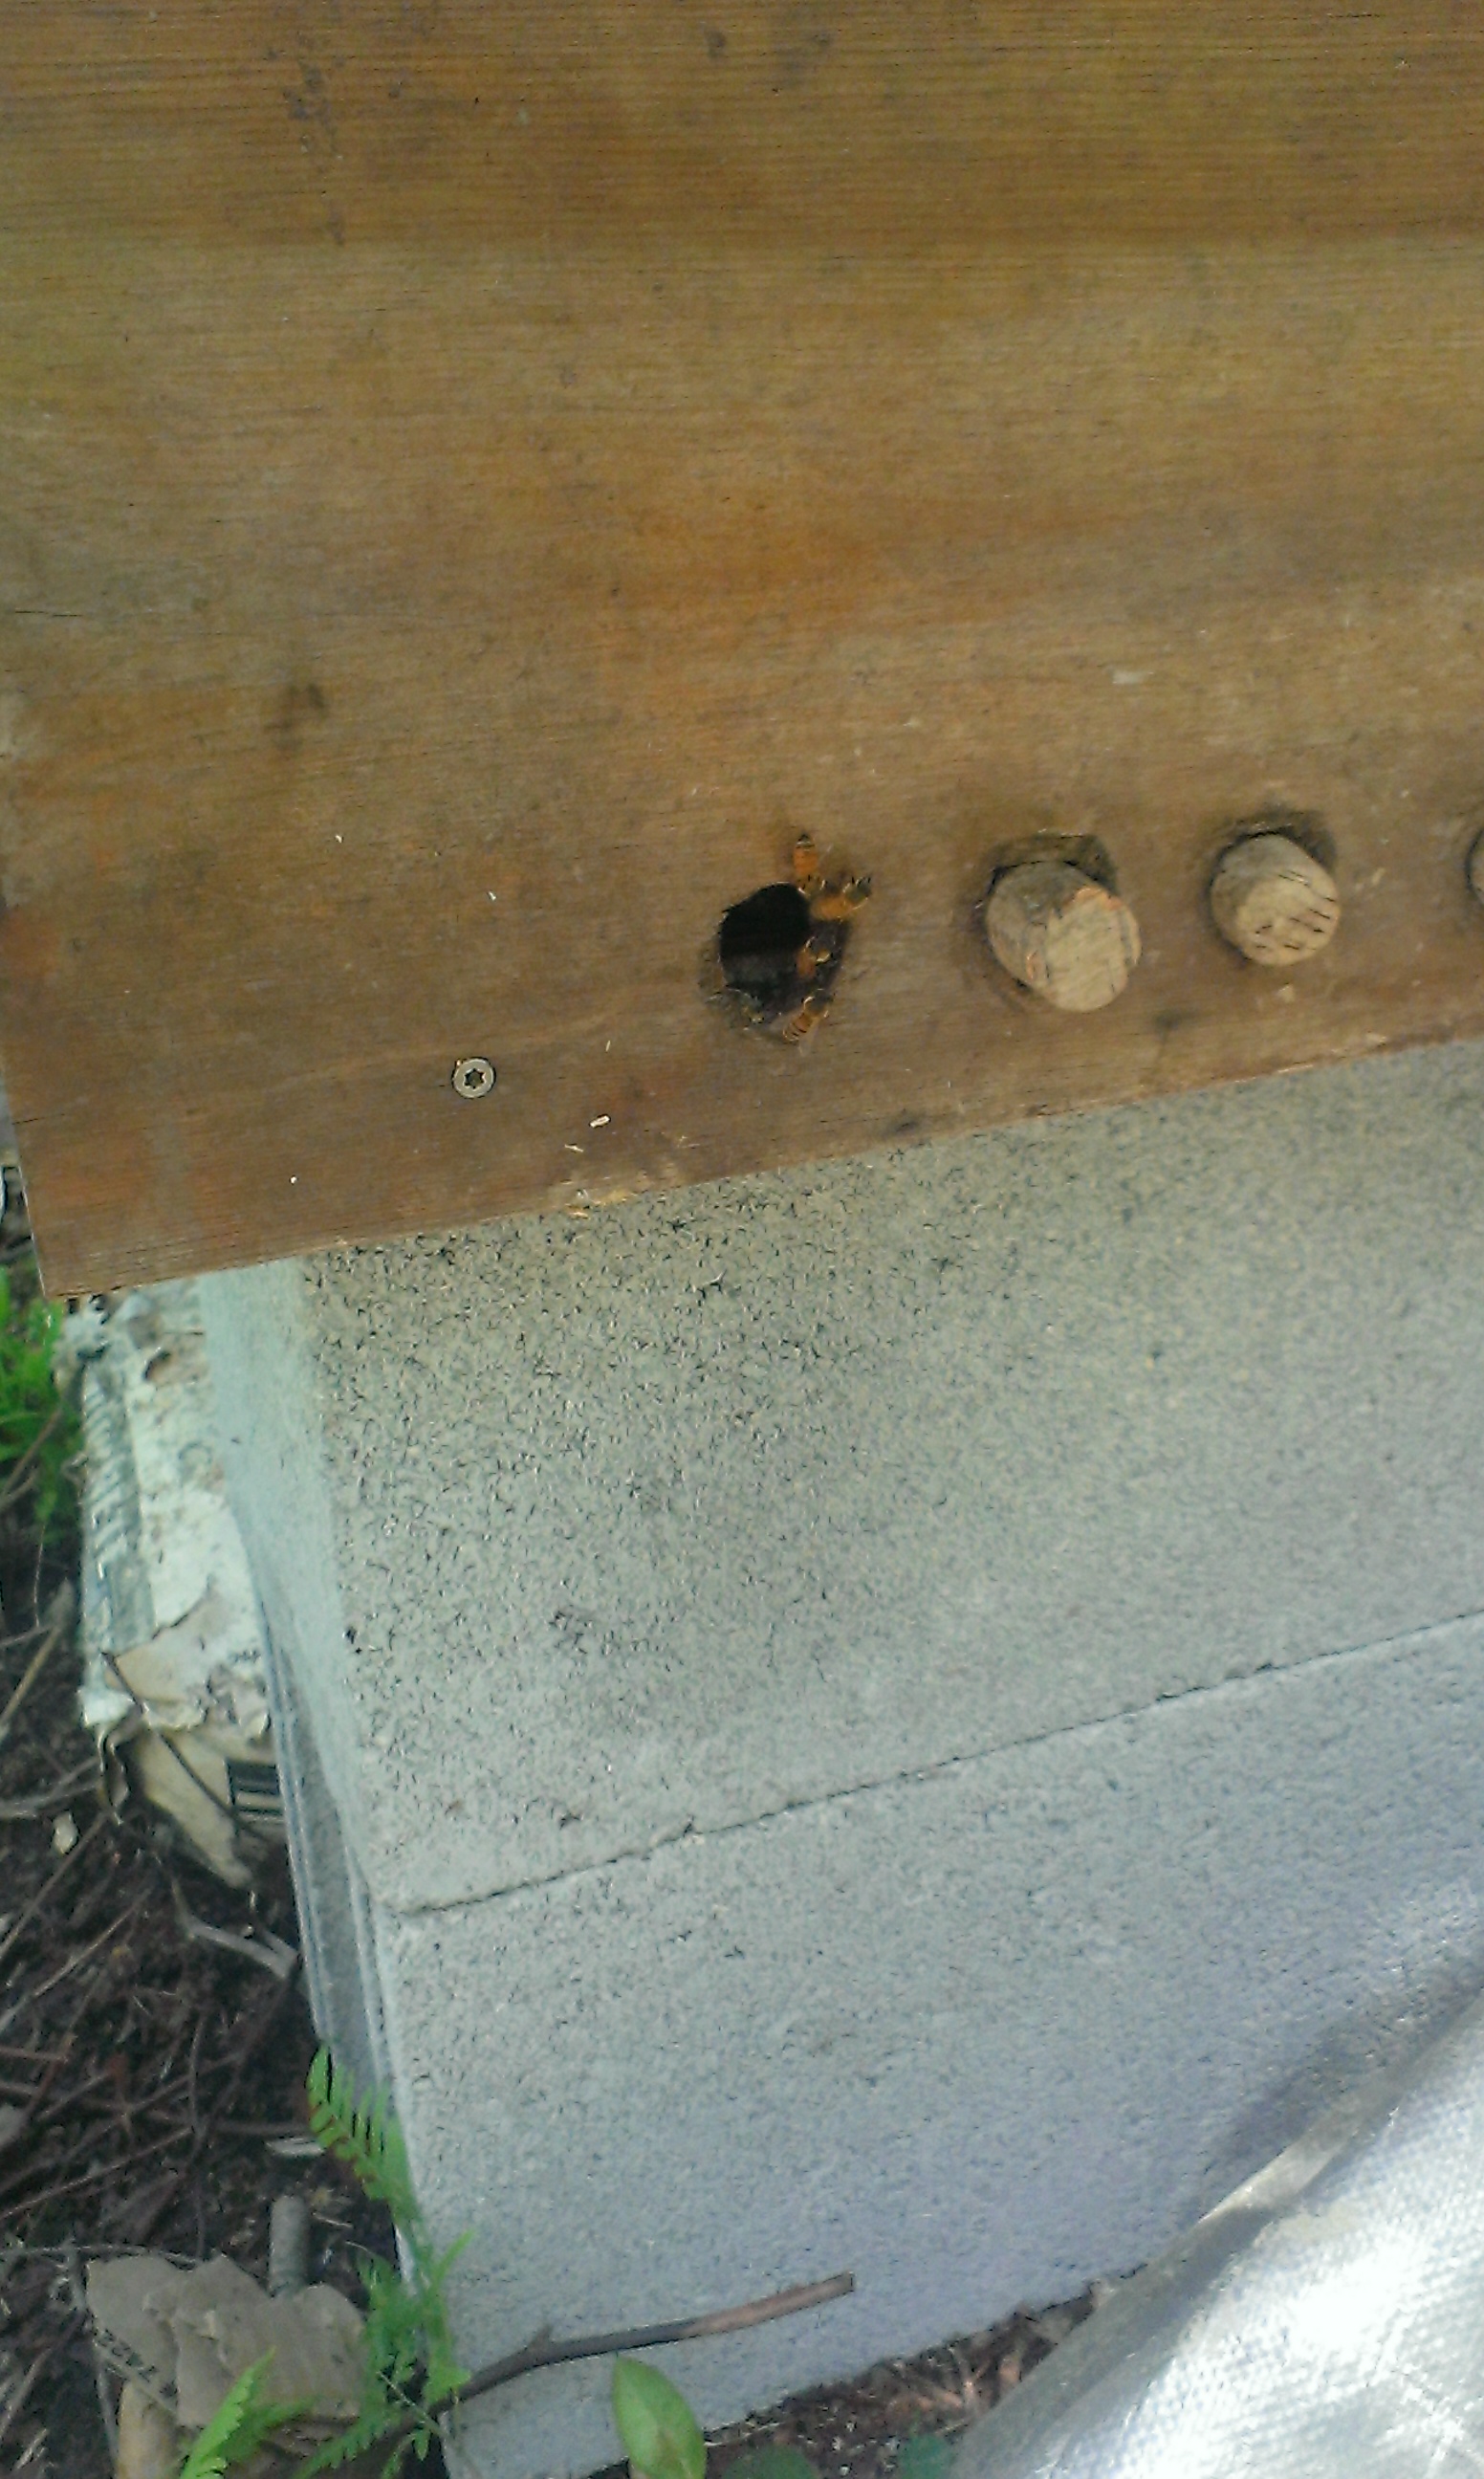
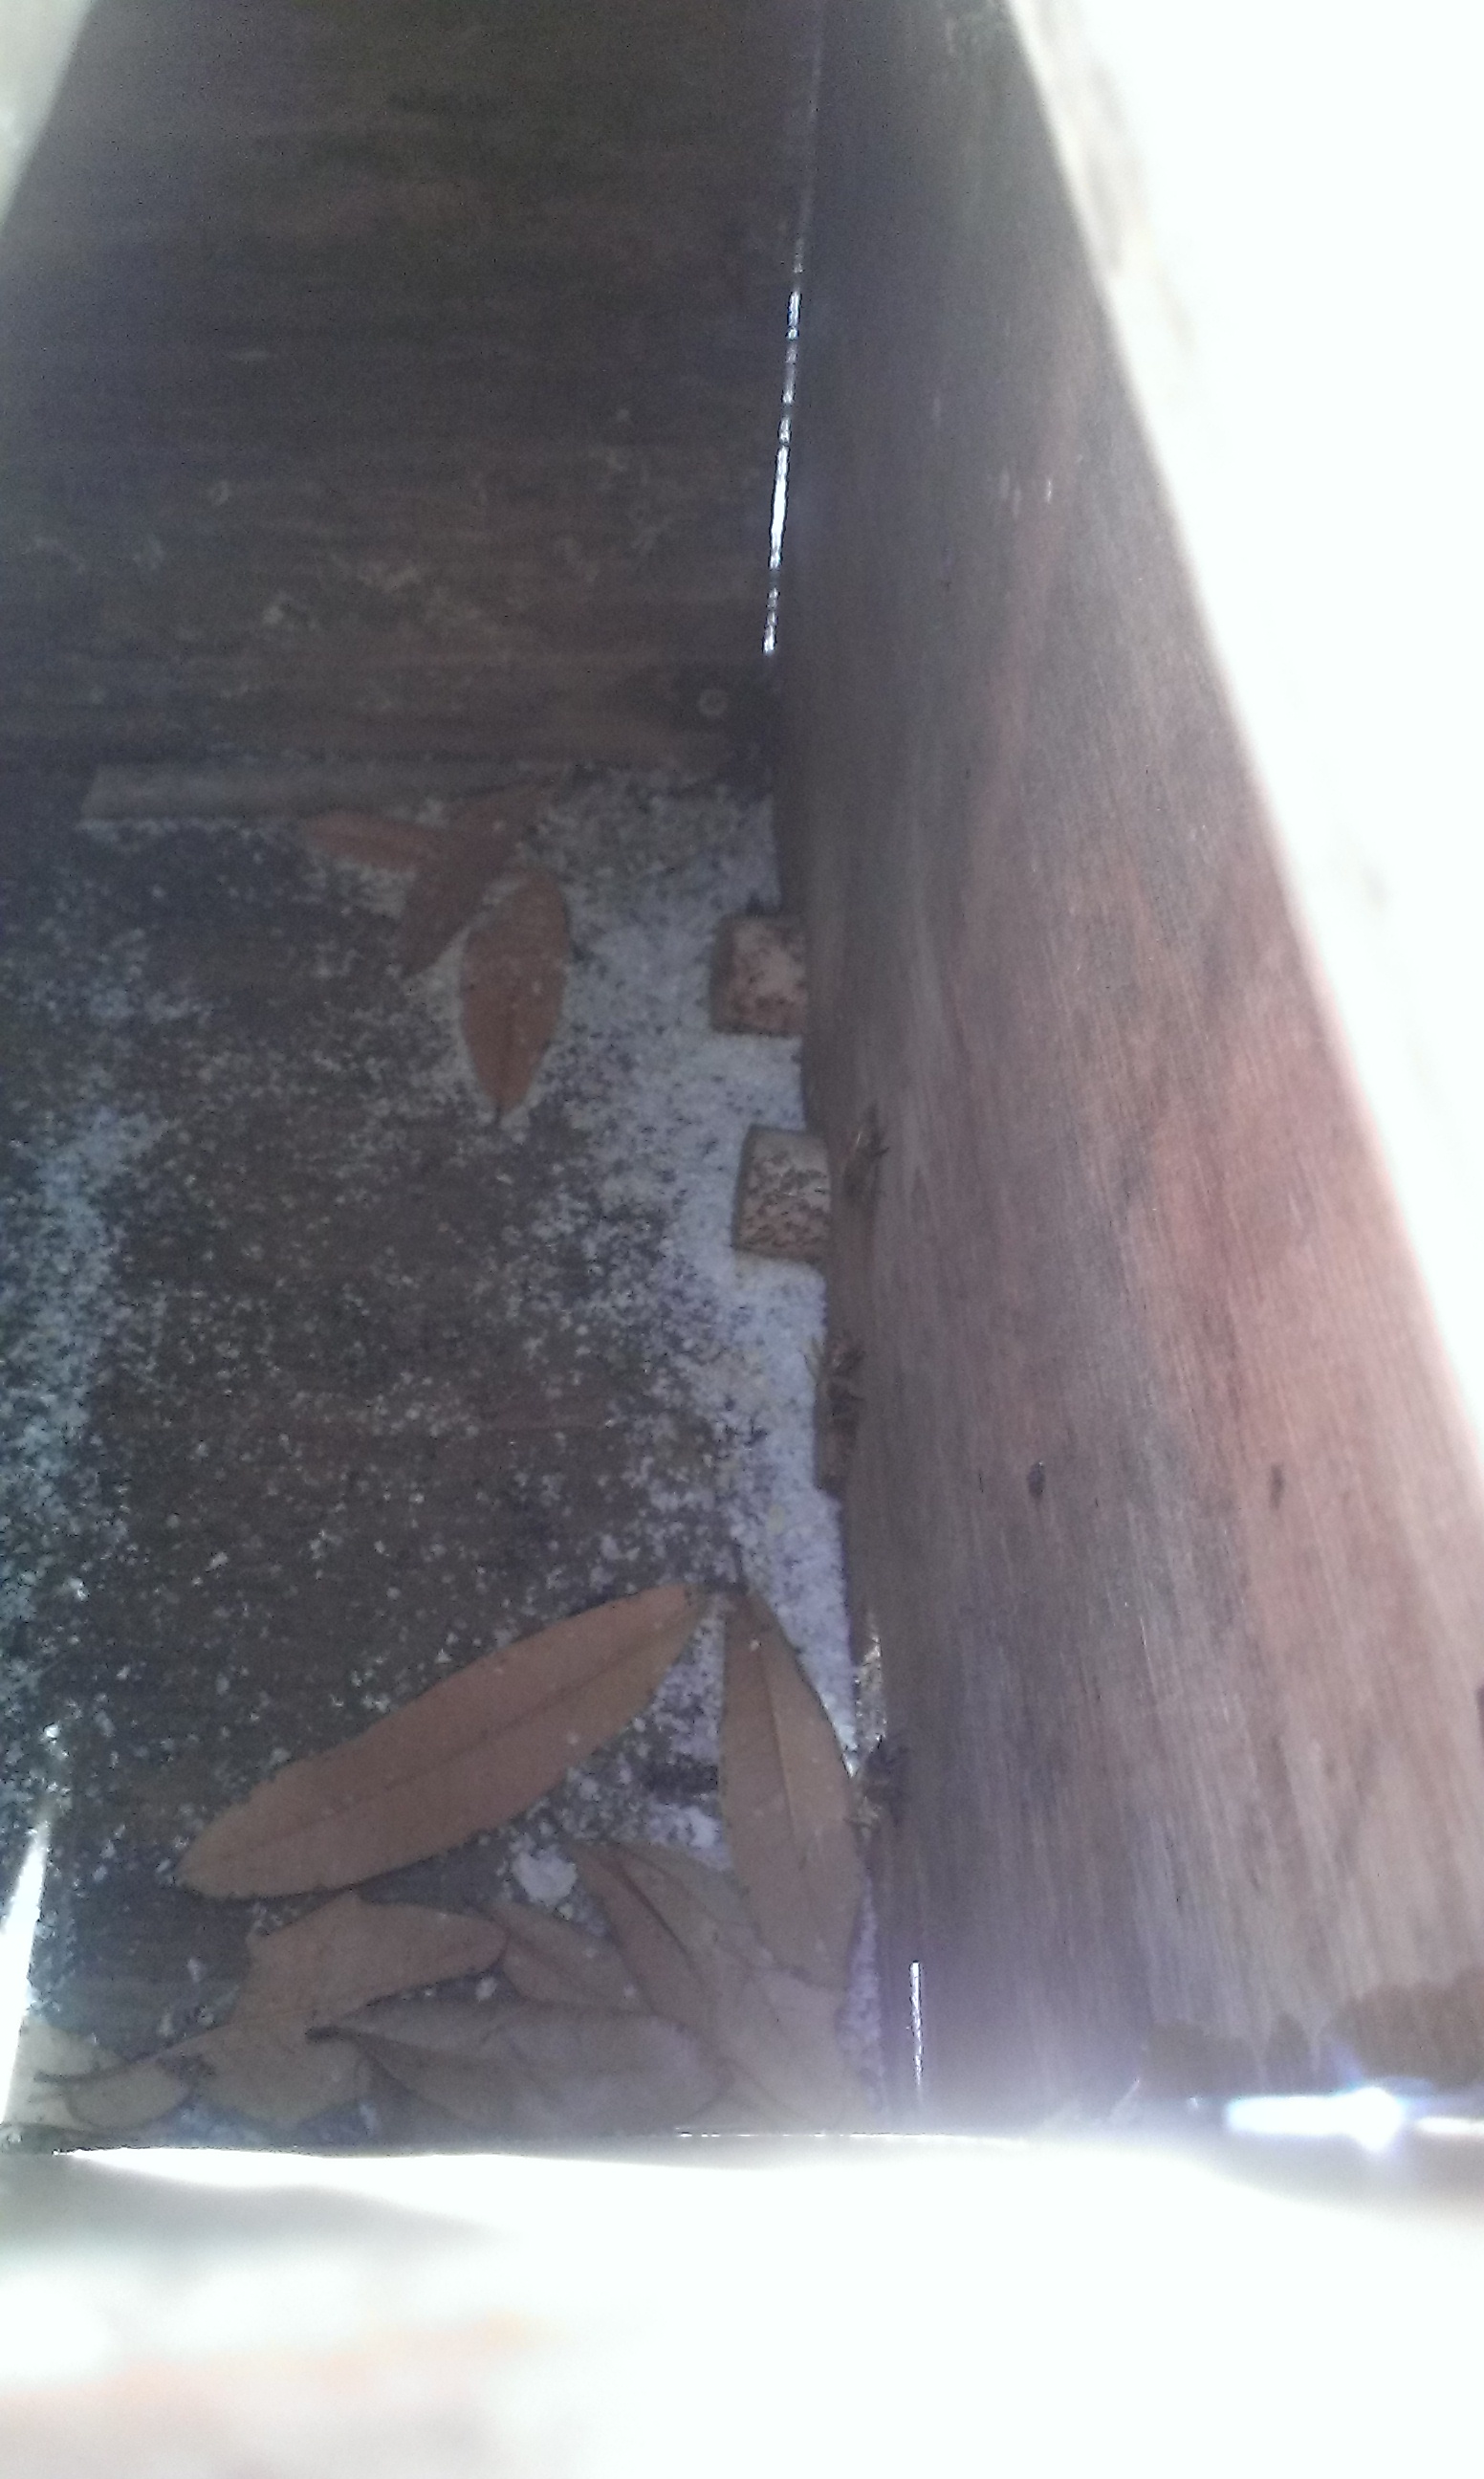
From the front I could see more of the white substance on the floor of the hive.
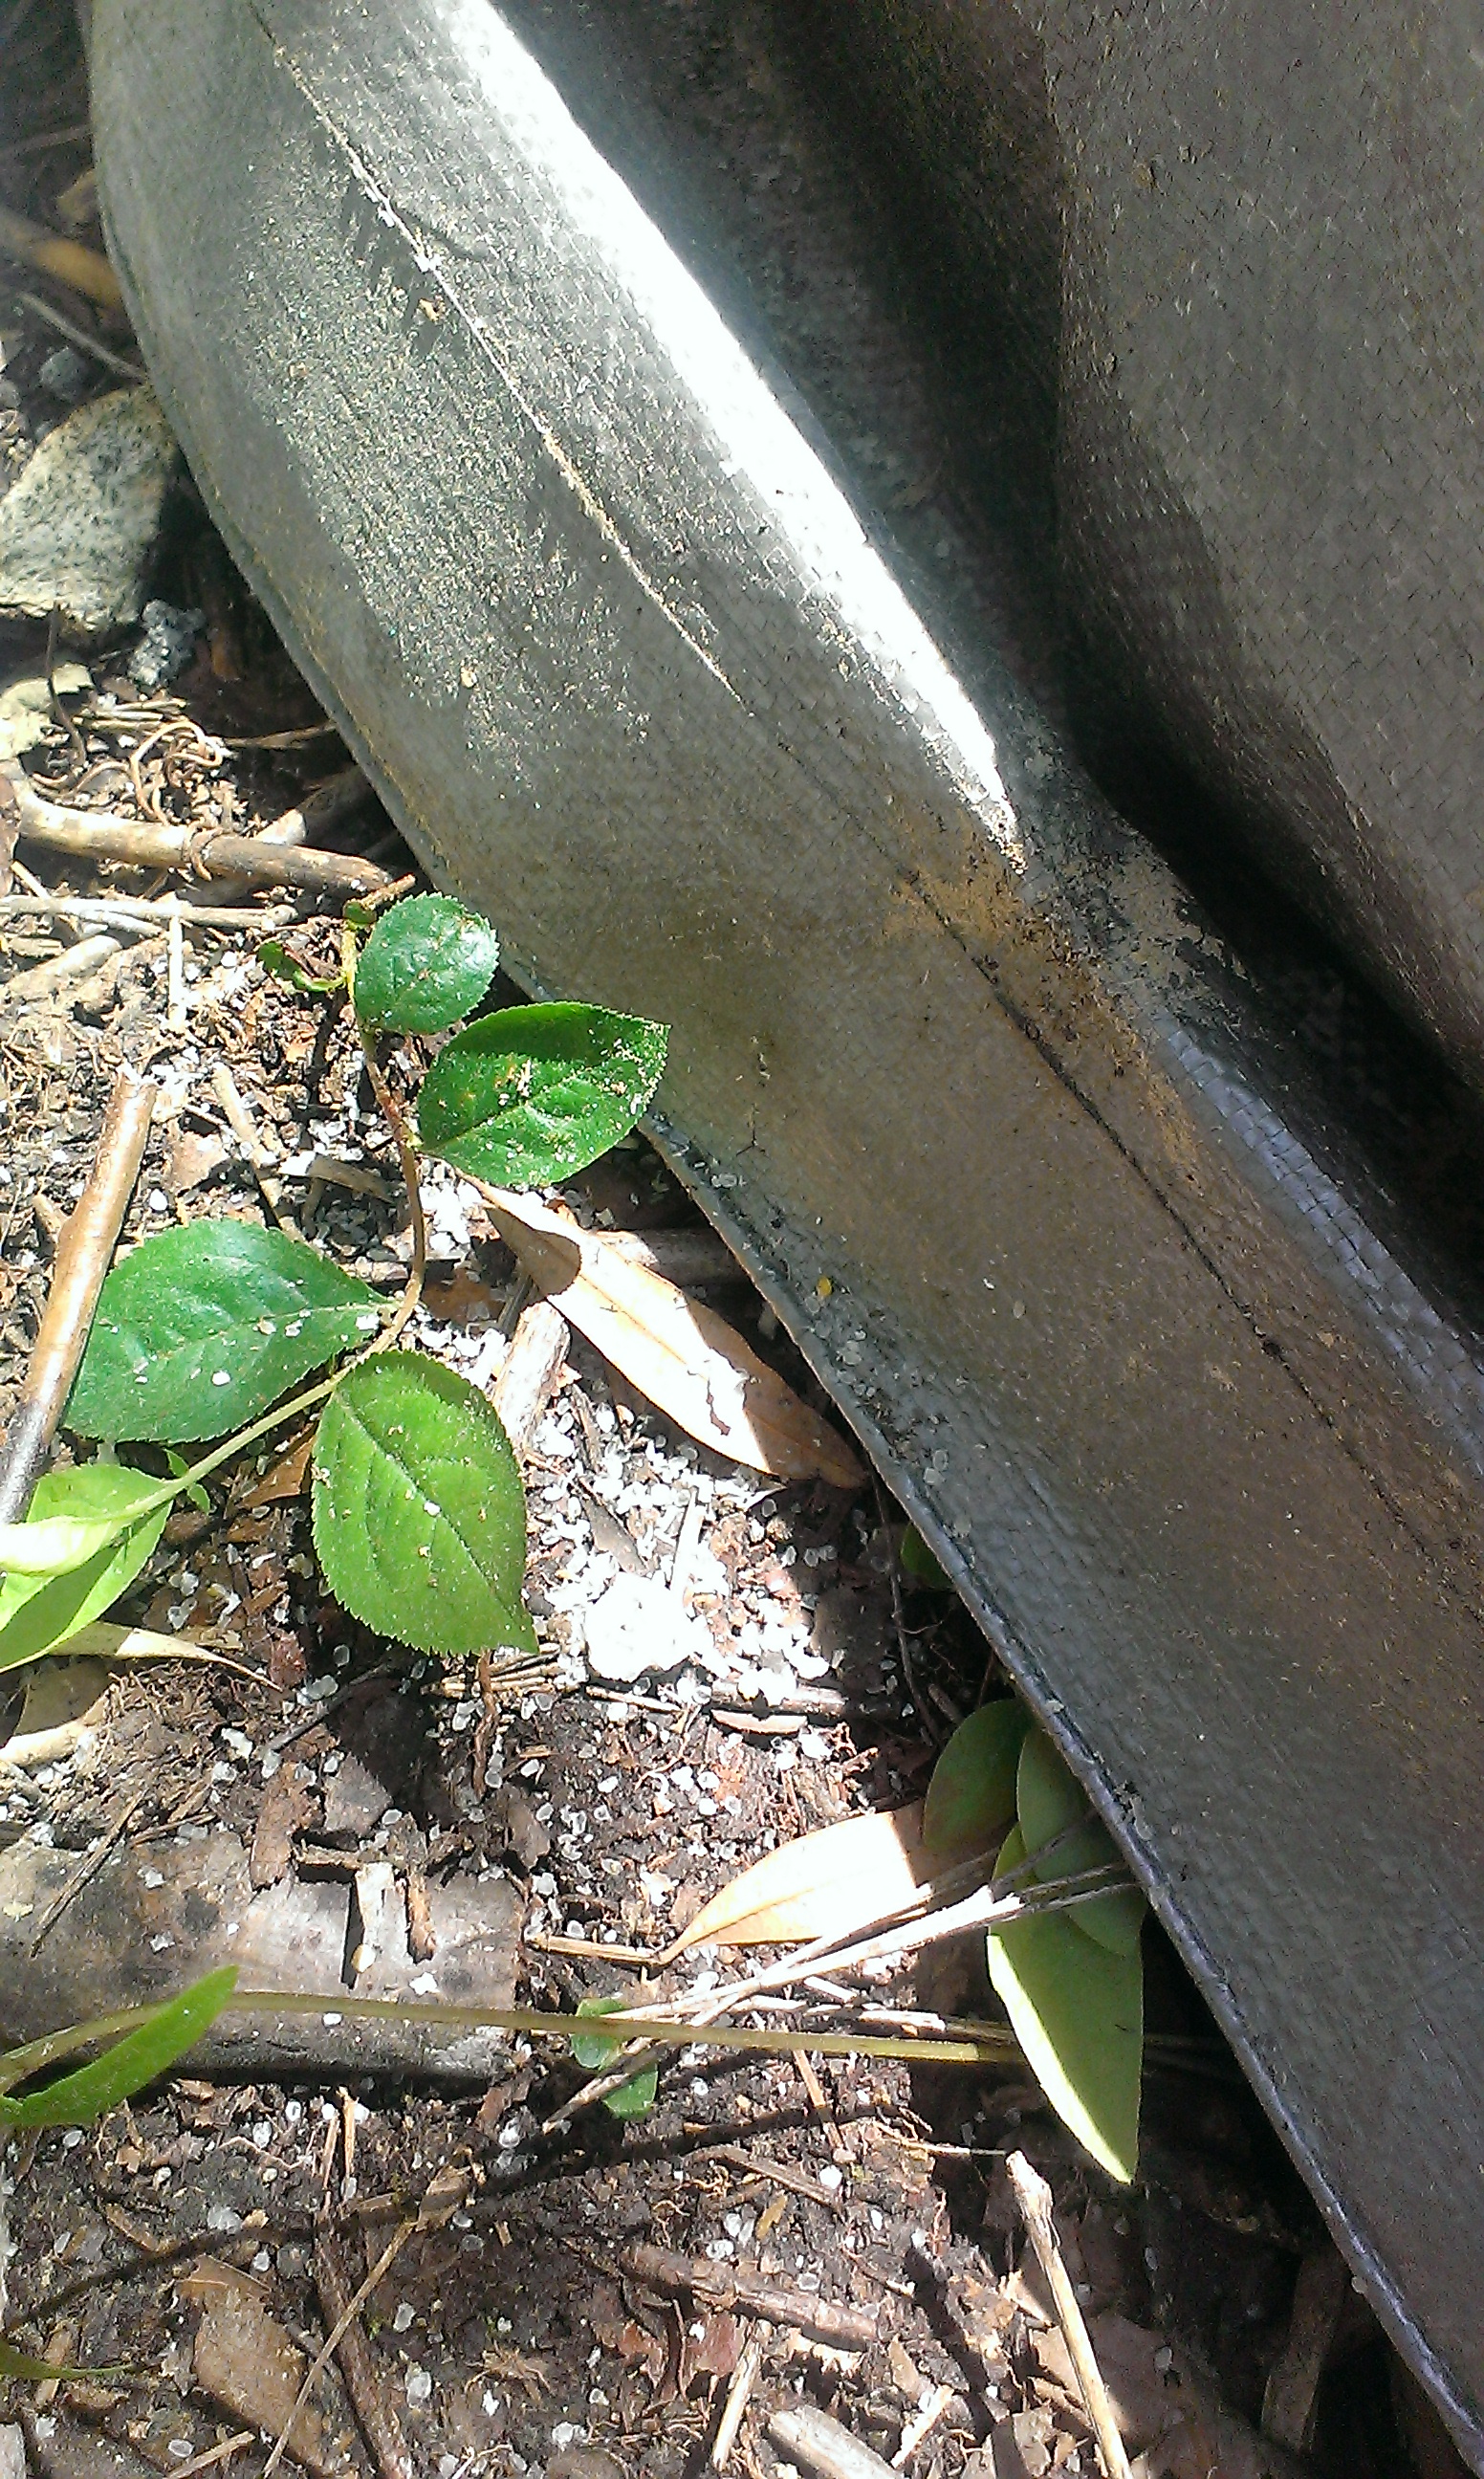
Then I noticed even more of it just outside the front entrance, on the ground. Upon closer inspection I could tell that out was wax. But why would be carrying out pieces of wax? I knew something wasn’t right.
When I opened up the hive I saw. That some comb had fallen. I wanted to hurry up and get it so I didn’t take a picture until after.
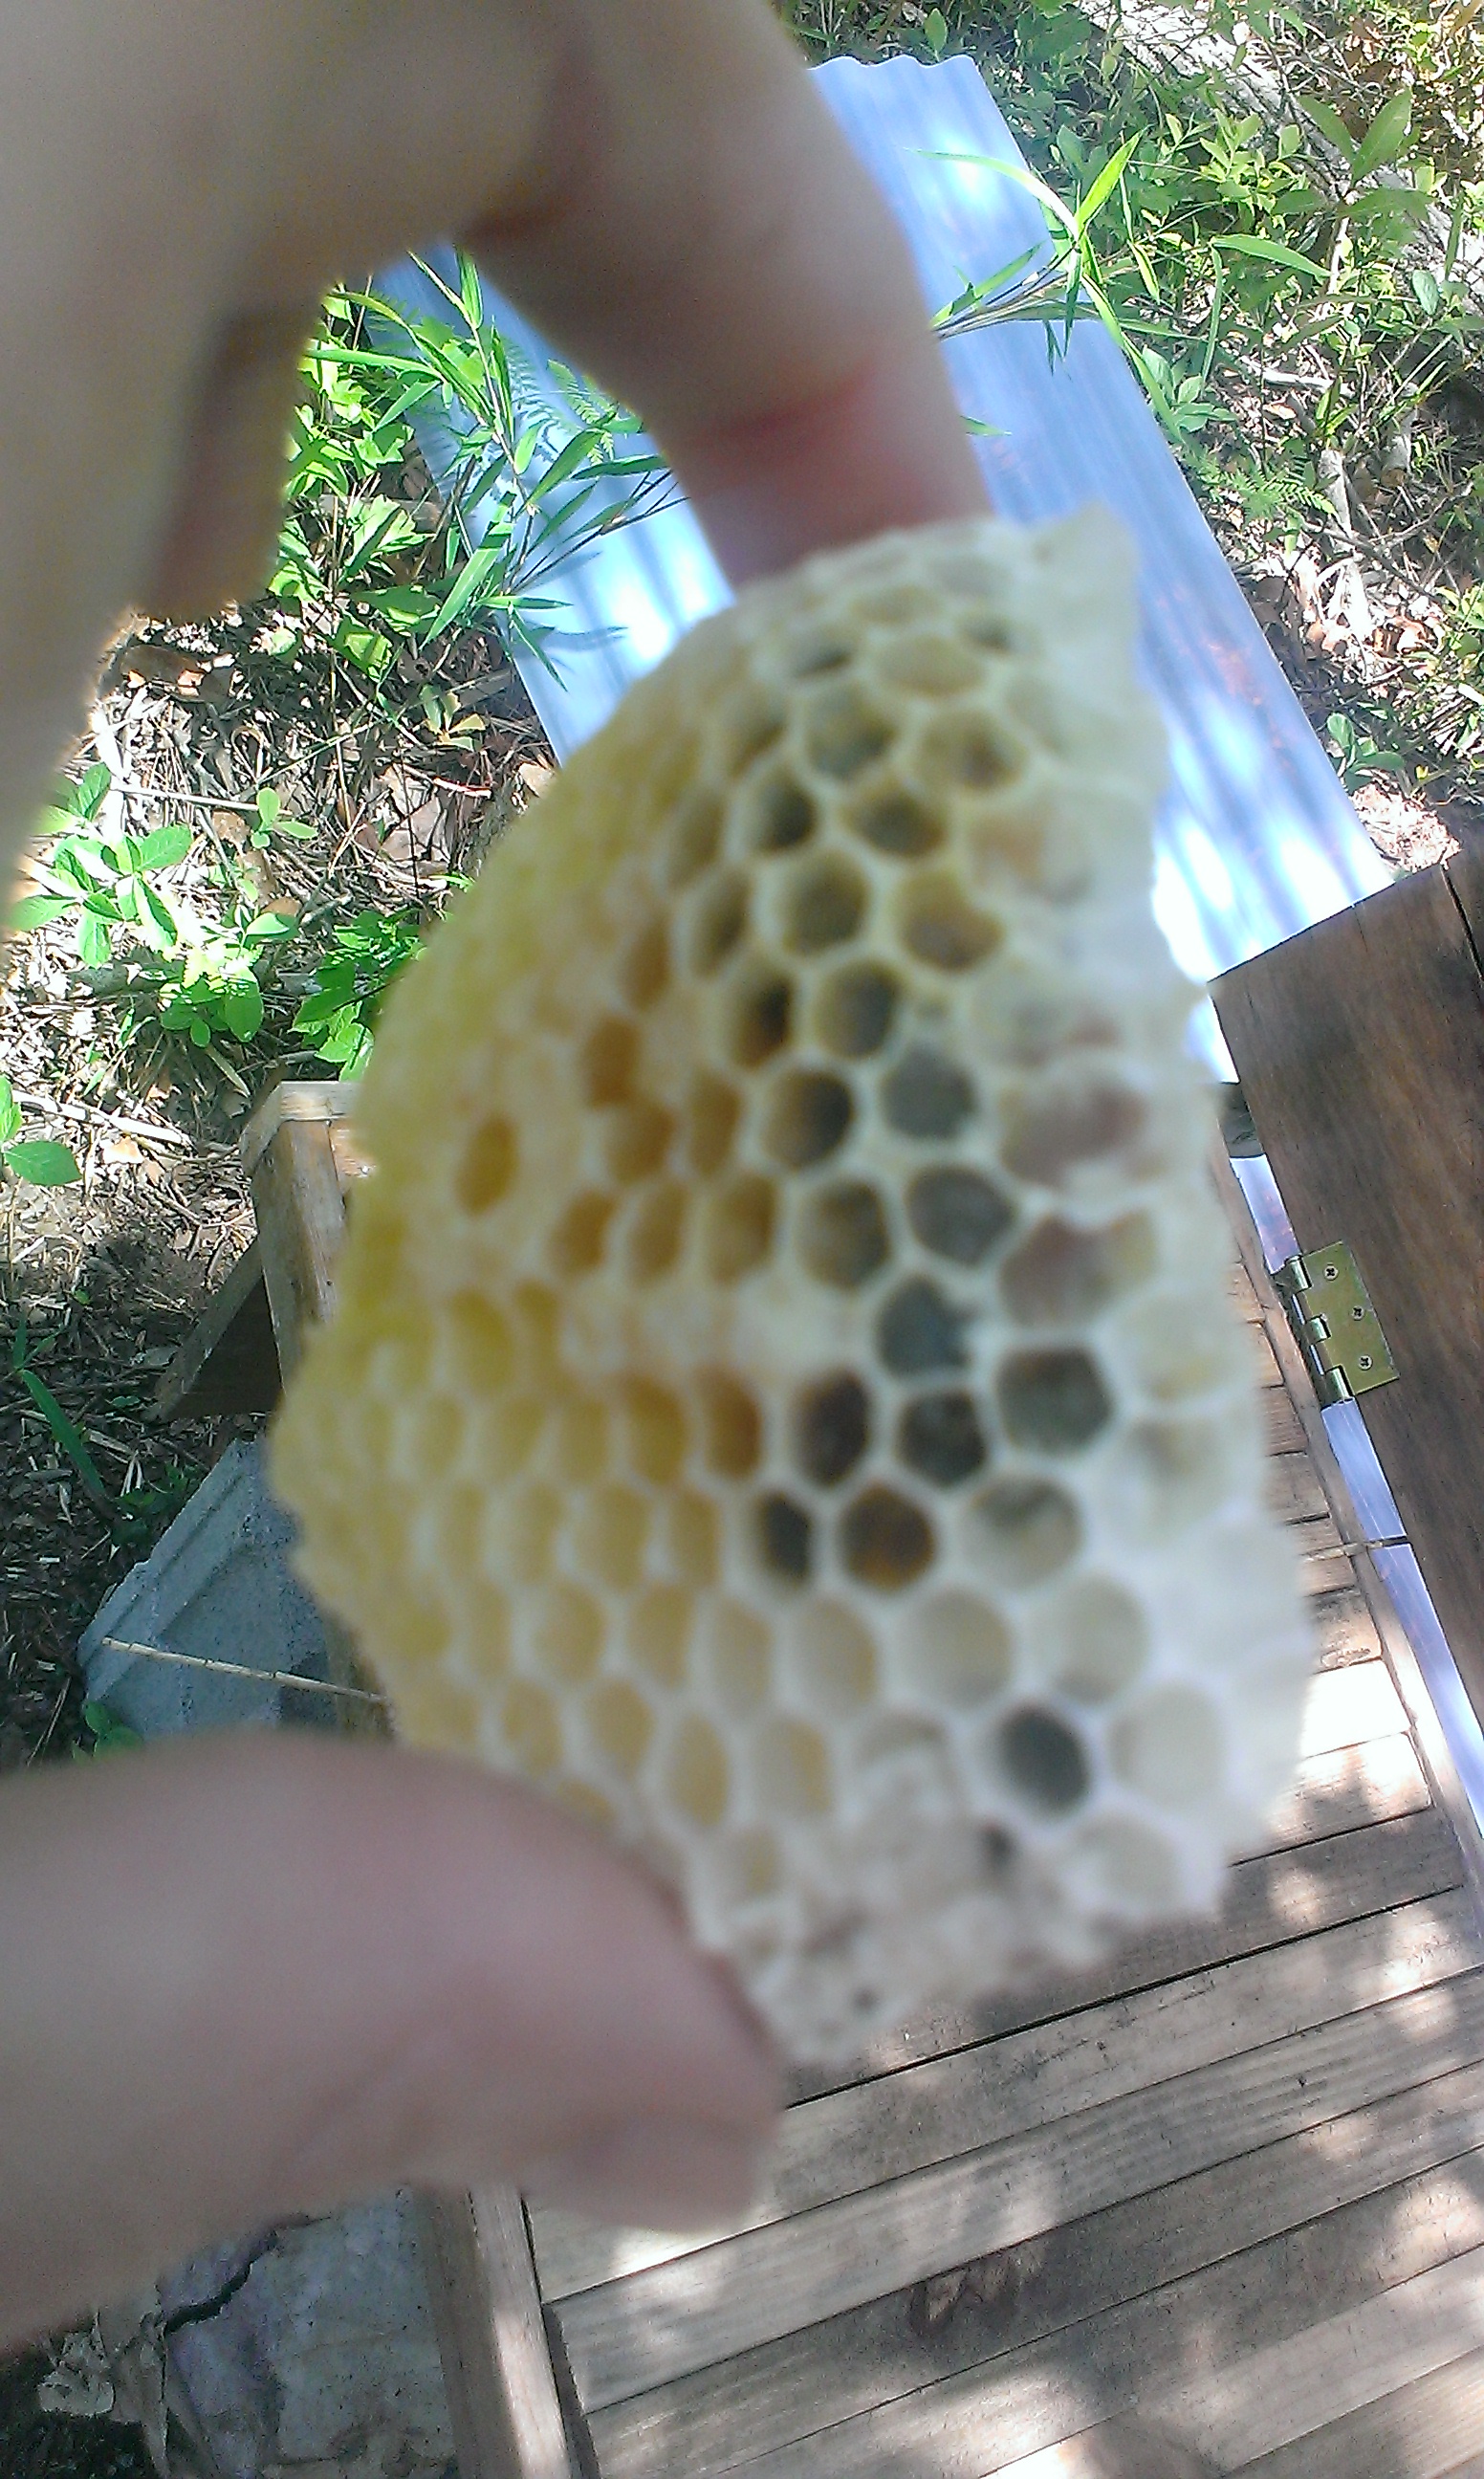
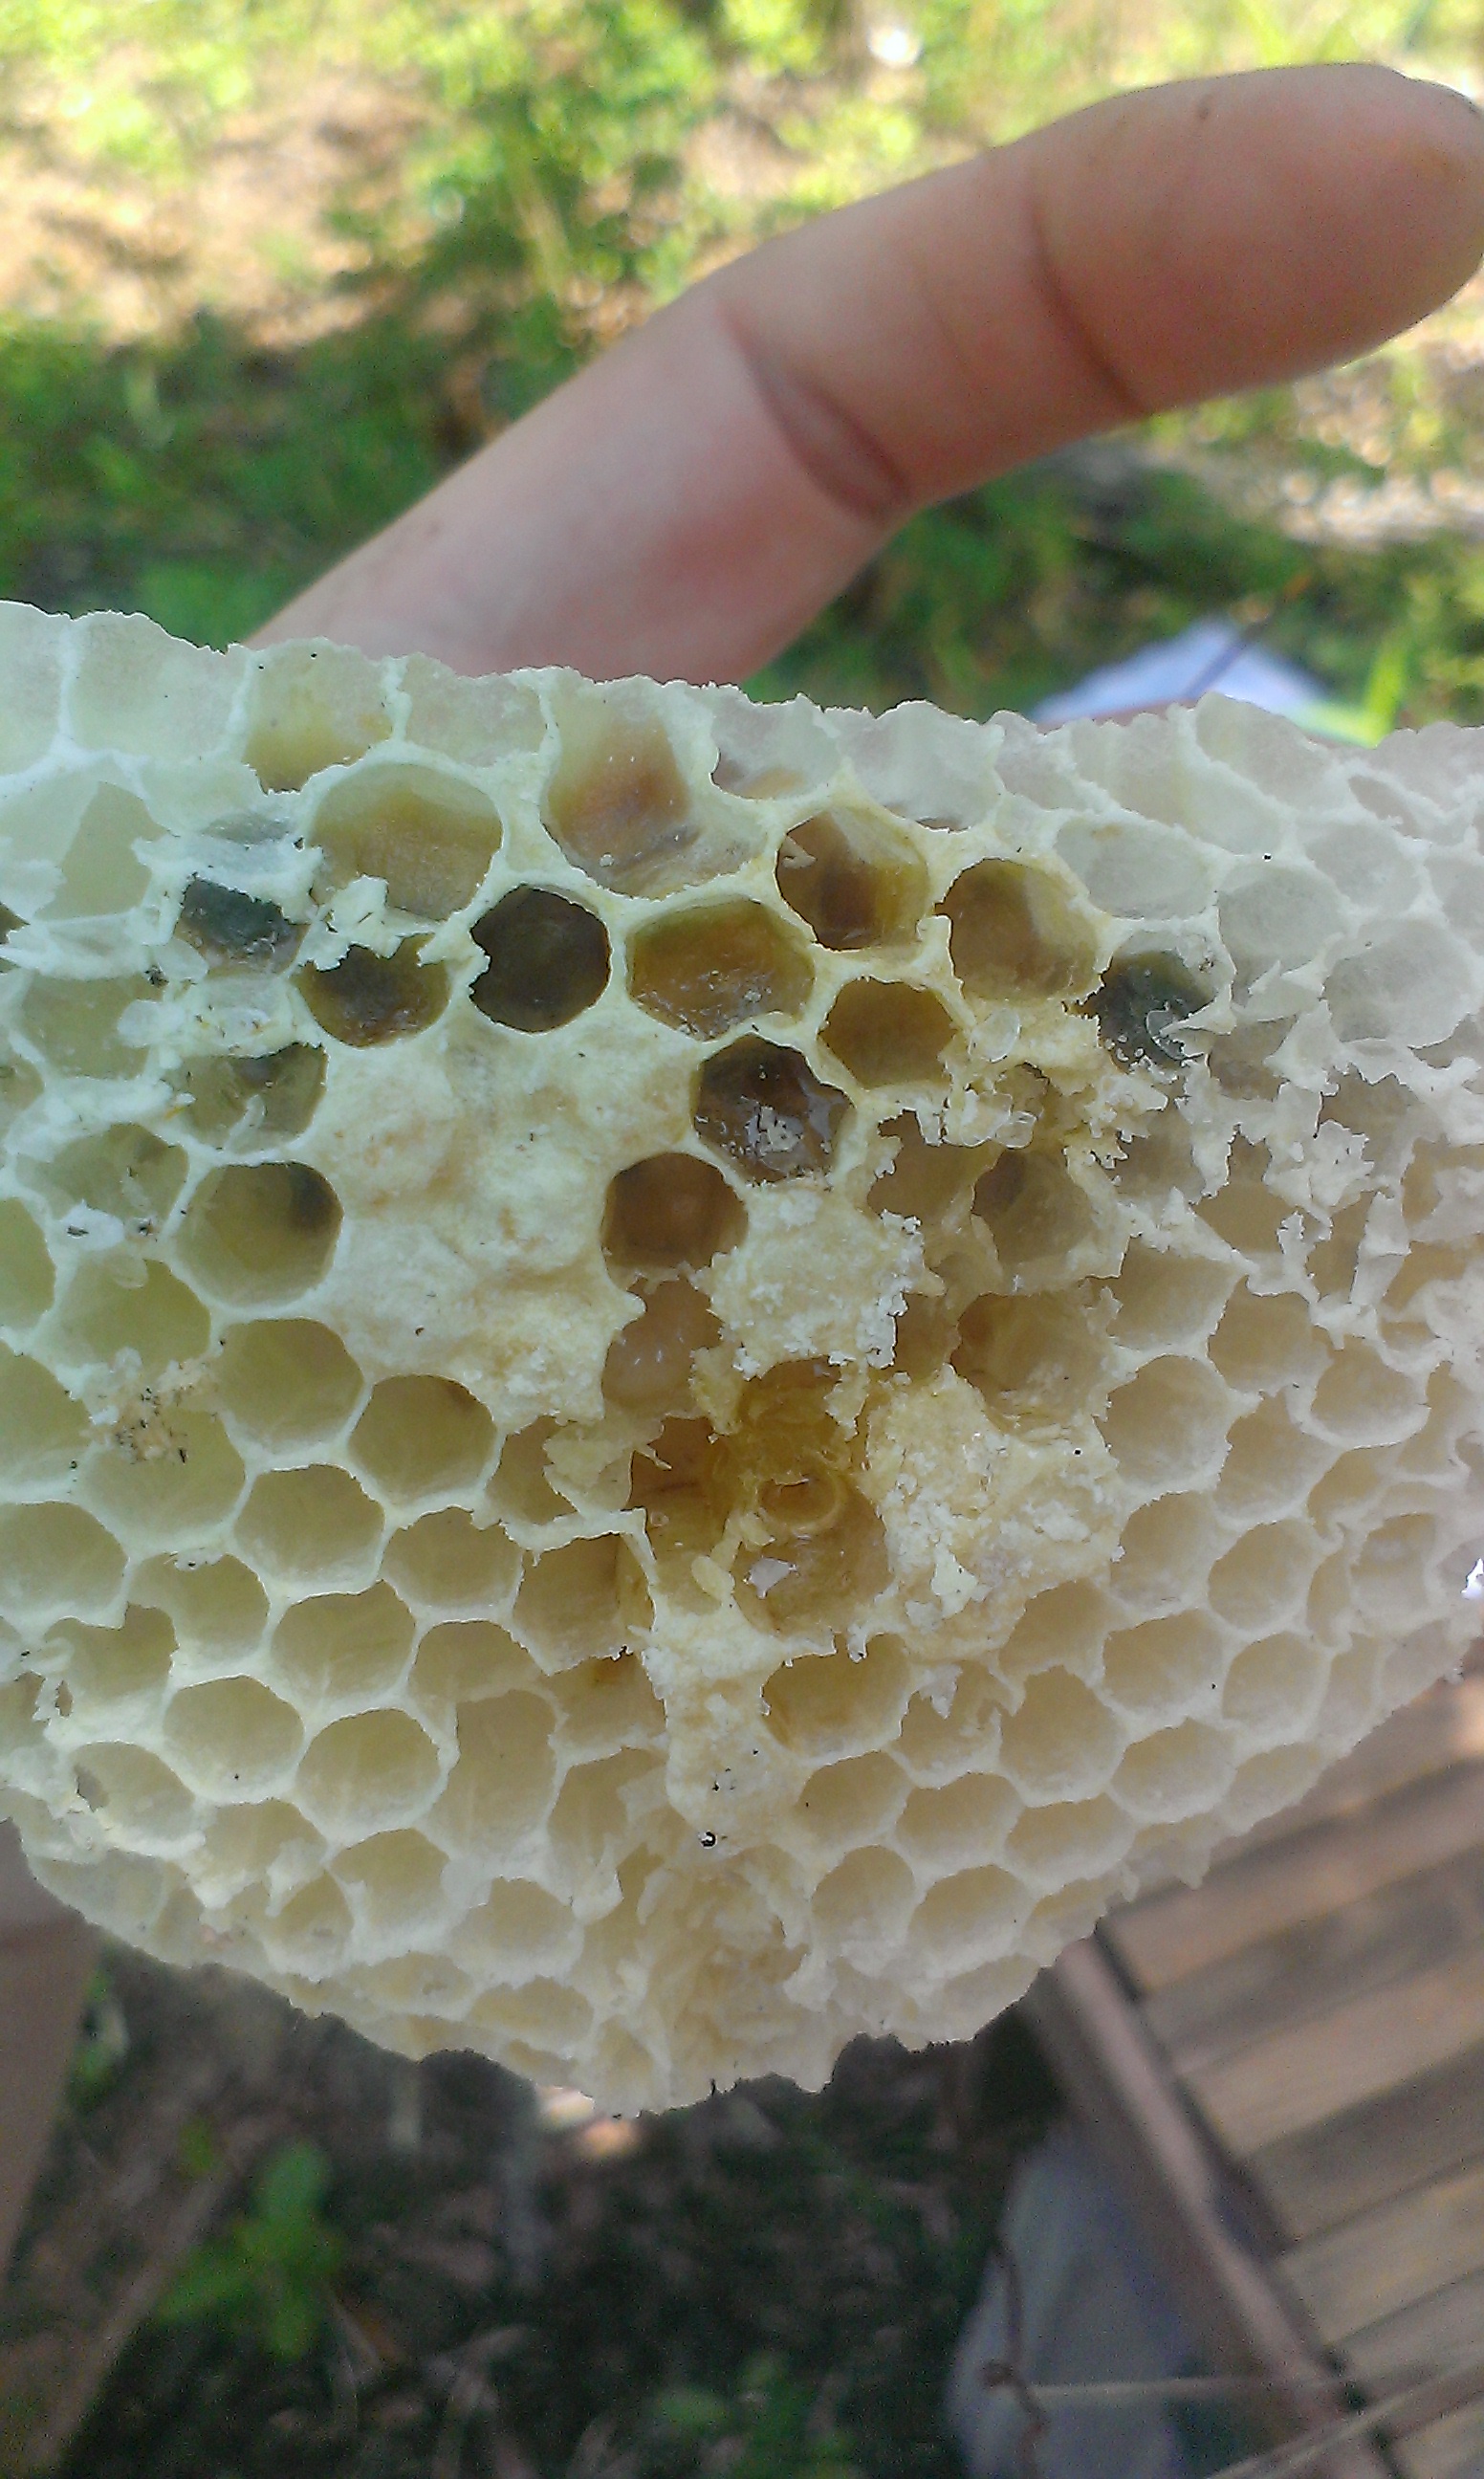
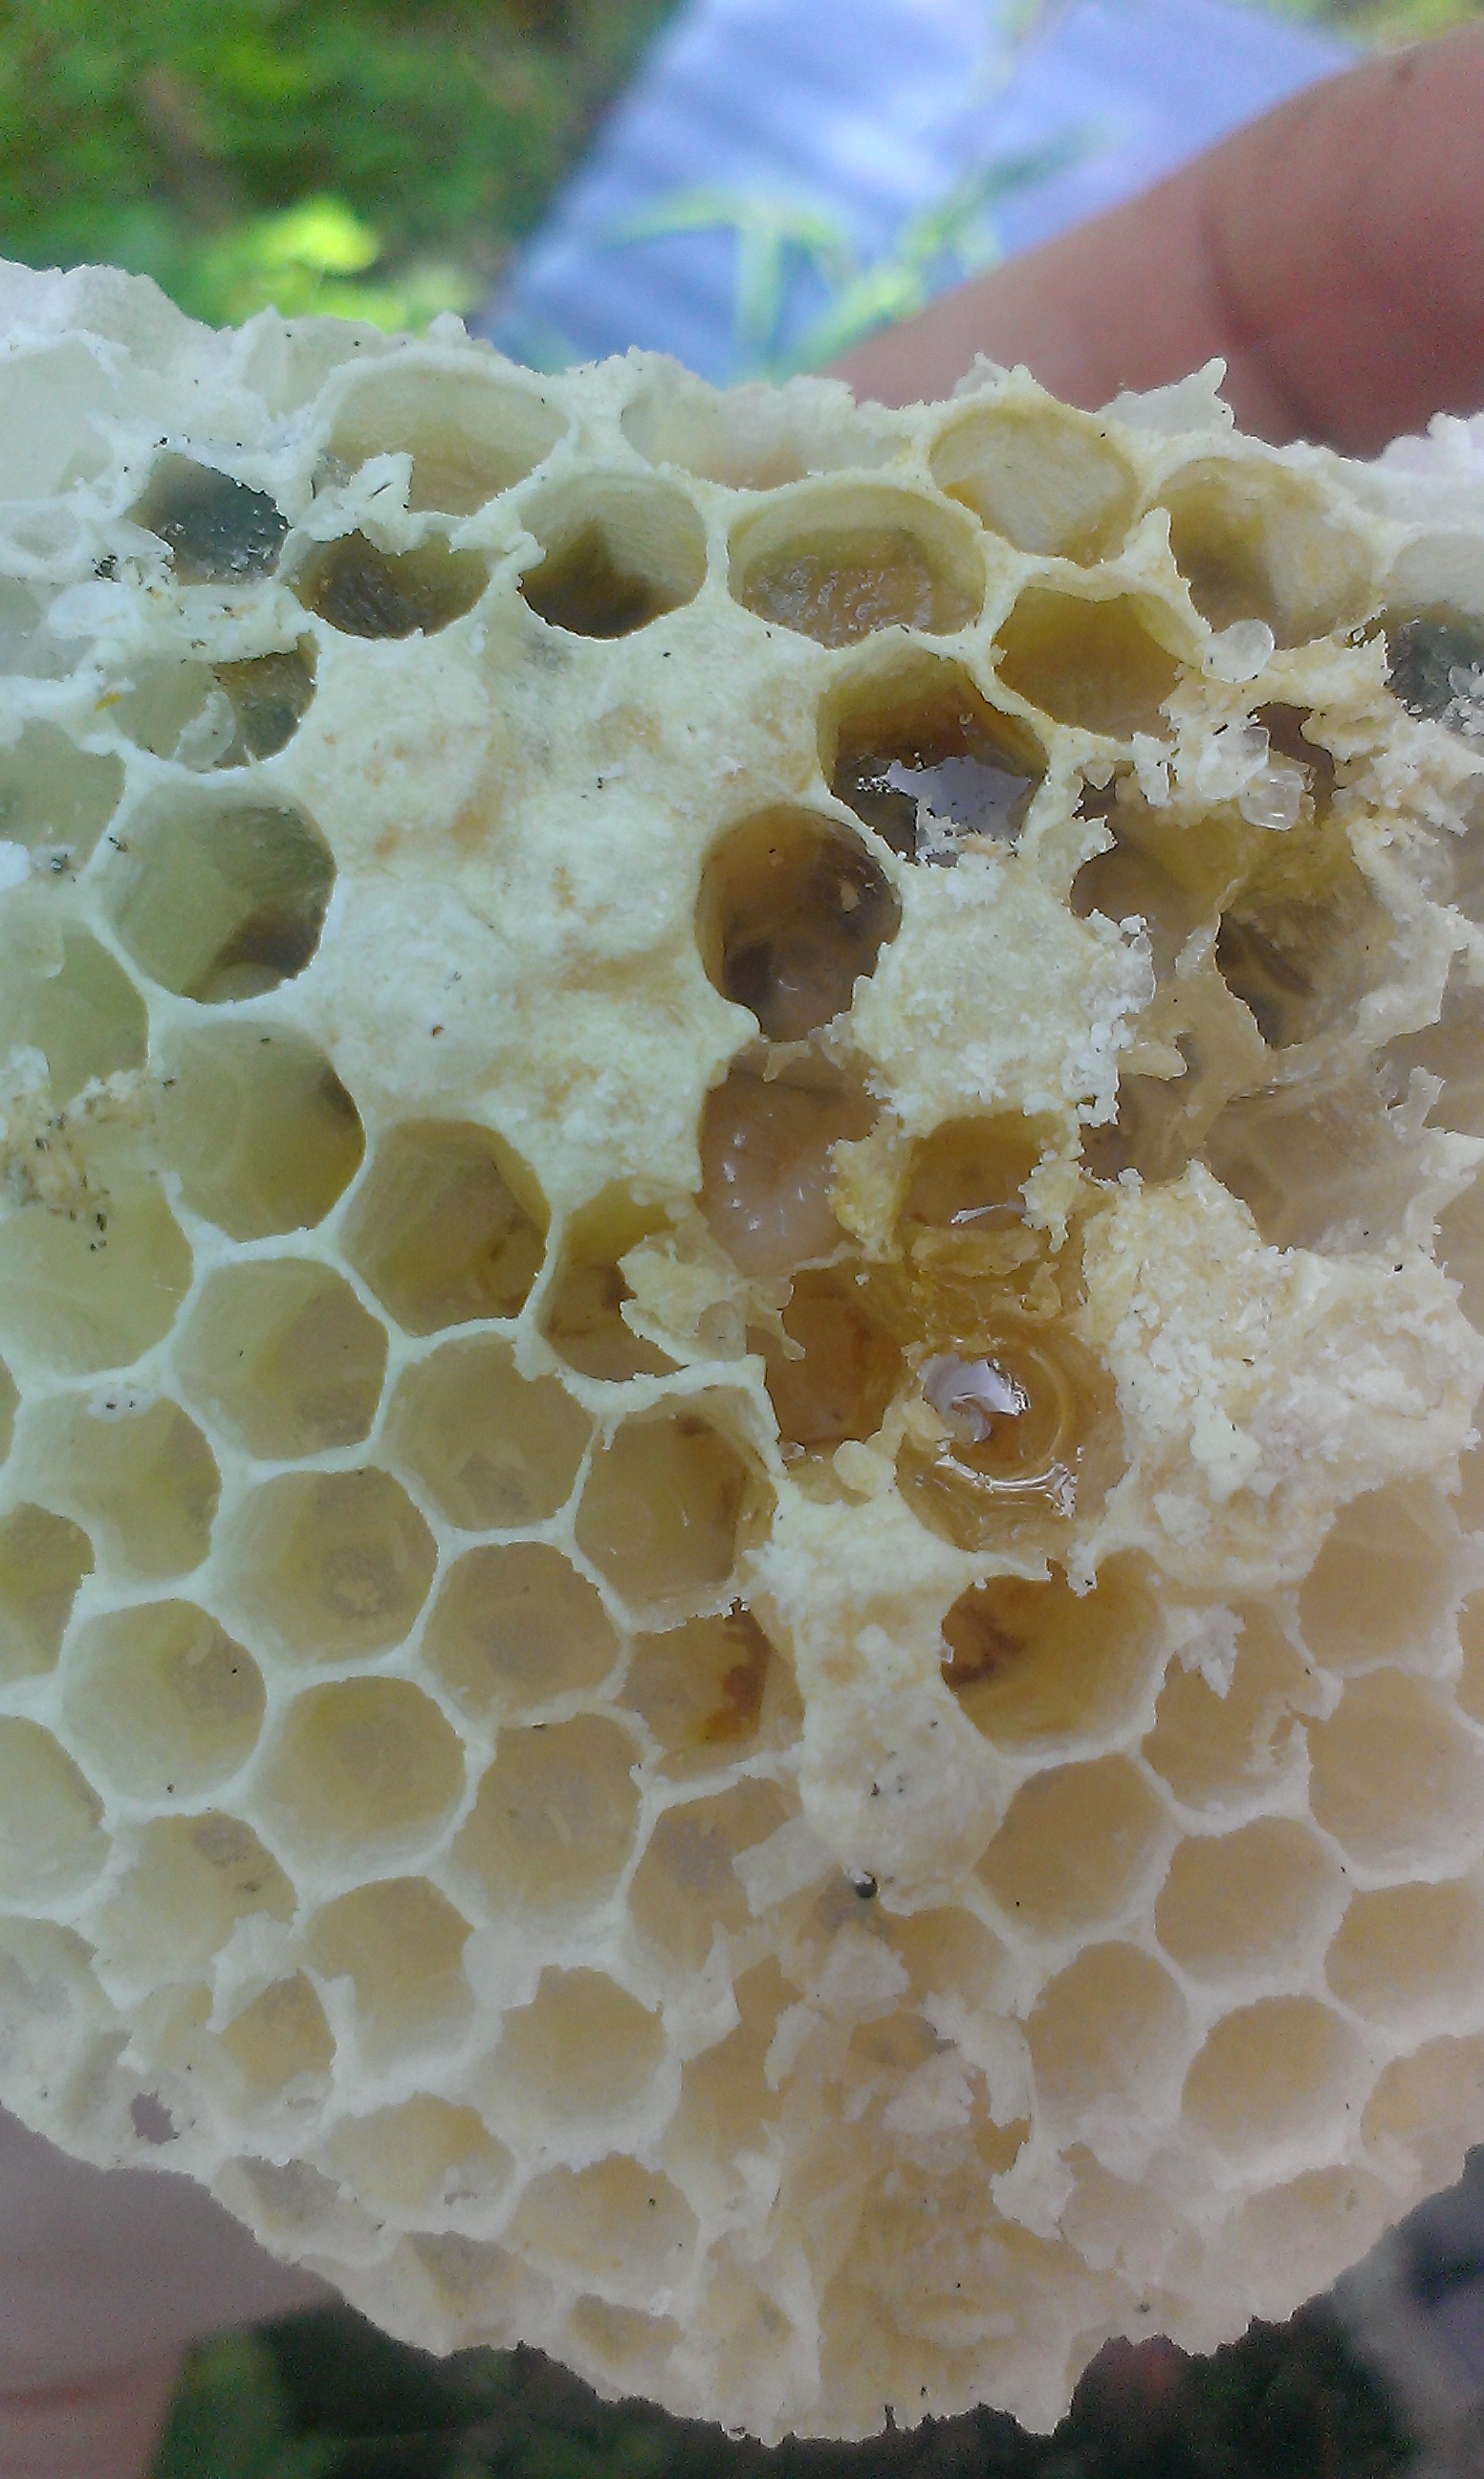
Here is the comb that had fallen.
As you can see there were brood as well as a little honey in the comb. In an established hive this wouldn’t be a big deal but this was a very small swarm that had only been in the hive a couple weeks.
As you can see from the condition of the comb the bees had been frantically trying to chew the comb away and remove it. I’m not sure of they could have moved the babies or not. Either way I felt the need to fix the situation as best I could and hopefully save the brood.
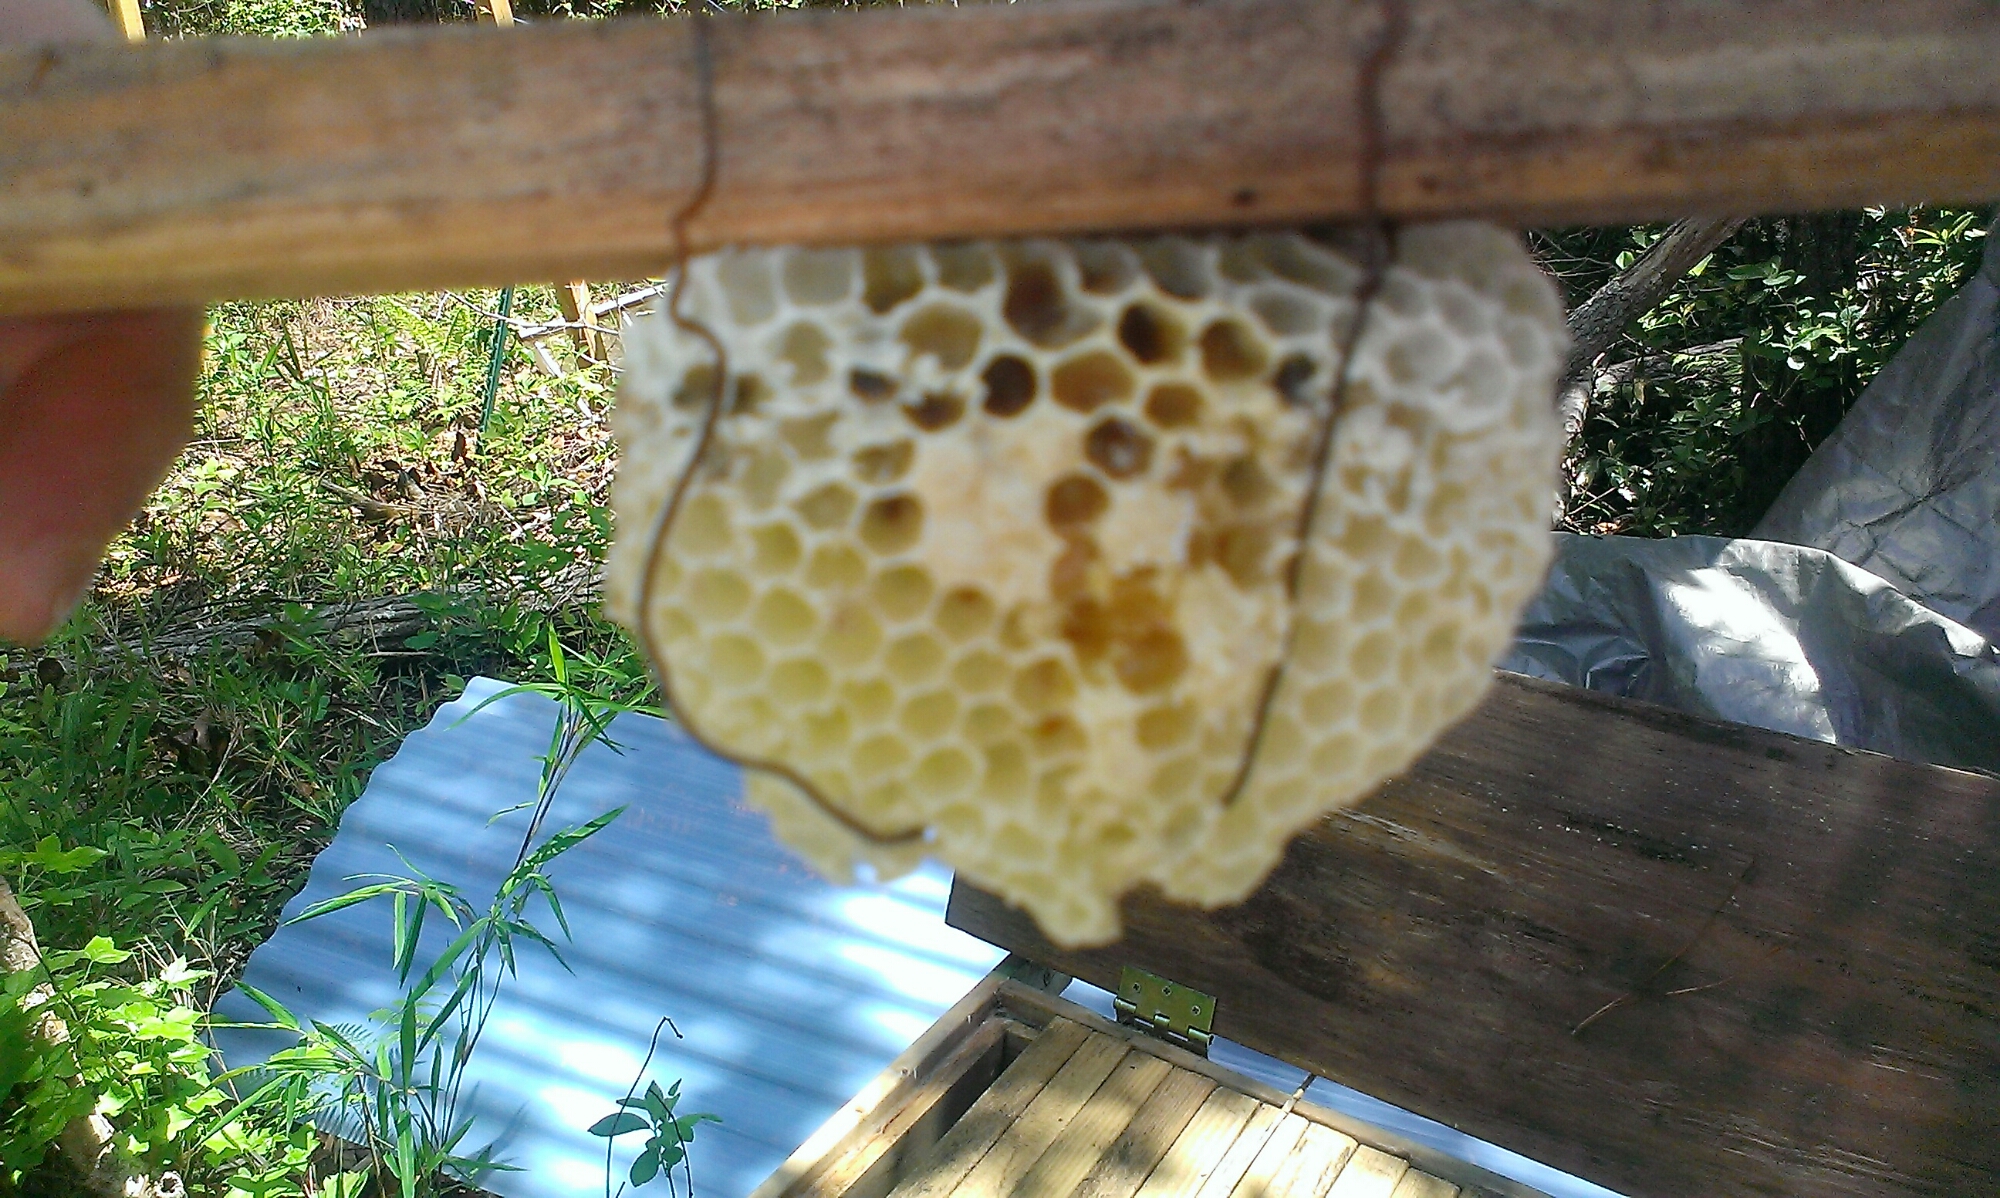
The best I could duo was to wire the comb to a top bar and give it back to them. I looked in on them one more time before I left and there were bees on the comb so I think they will be able to raise the babies. I will have to wait to see what the final outcome is. On the good side, now I know that my queen is laying. I think I will help them with removing the leaves next time I open the hive. These got there when I originally hived them and they might be a big job for the bees to remove on their own. I would love to hear from someone with more bee experience, especially natural bee keeping with top bar hives. Did I do the right thing?
Today’s Project April 28, 2014
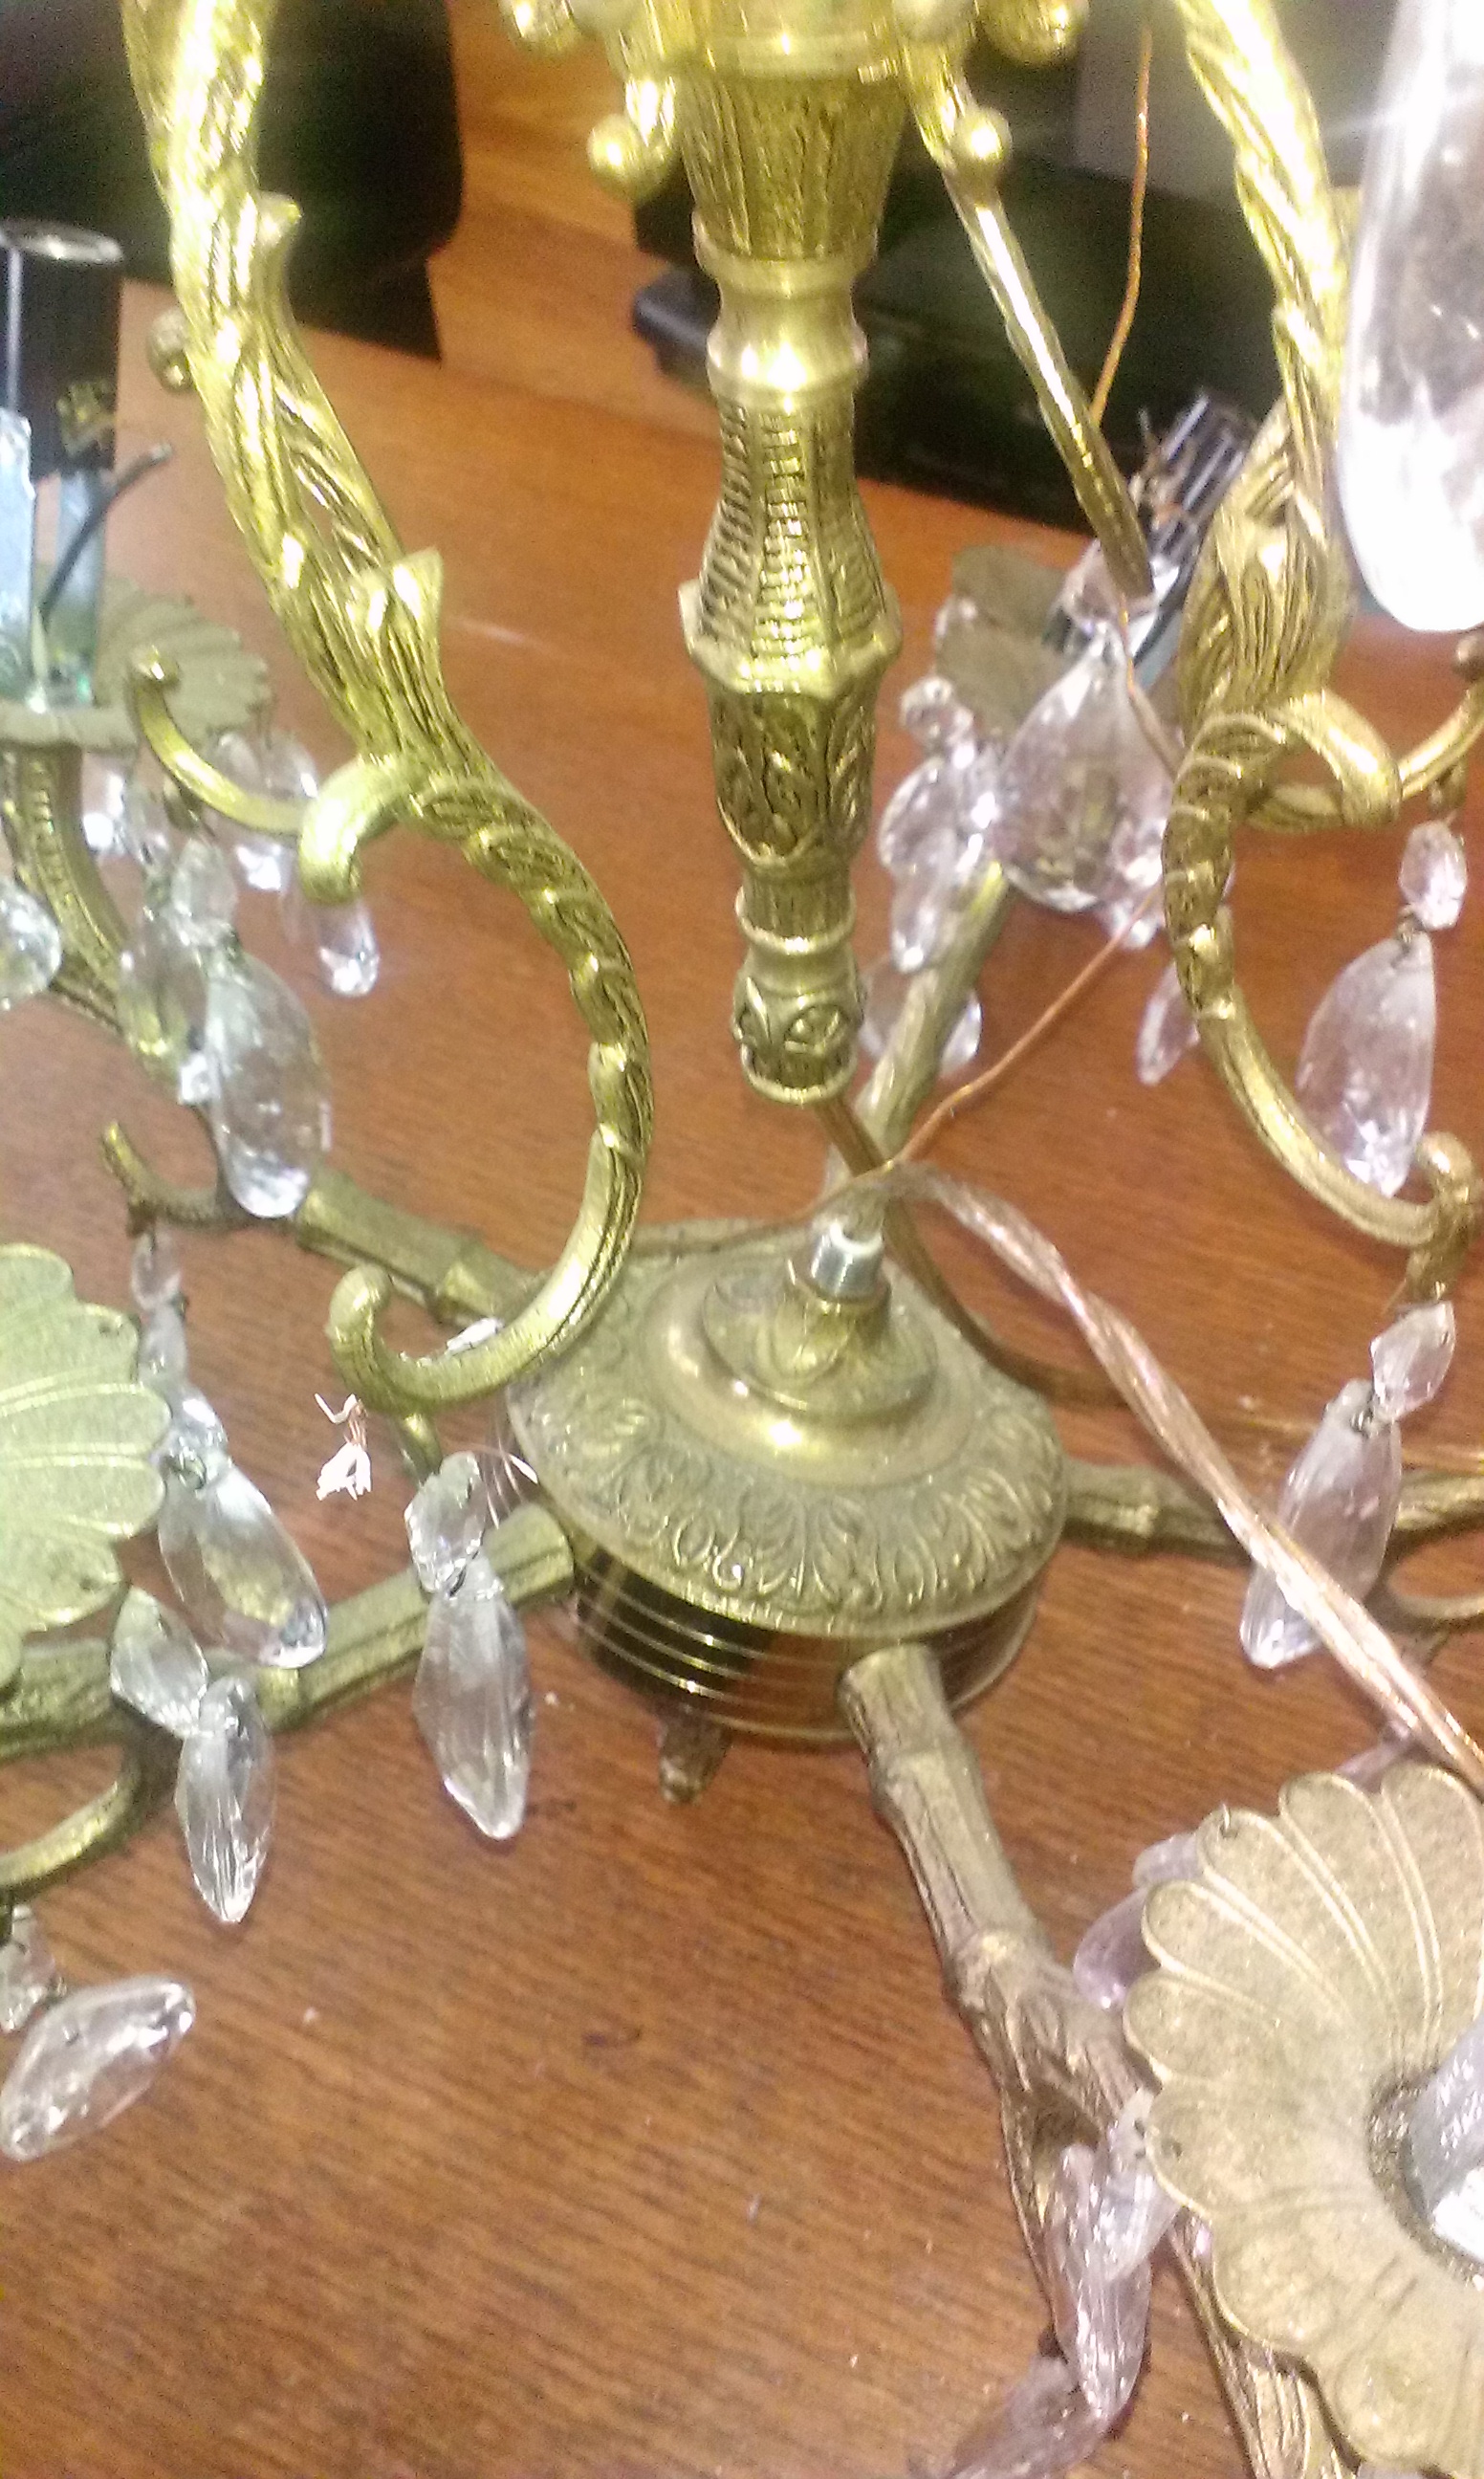
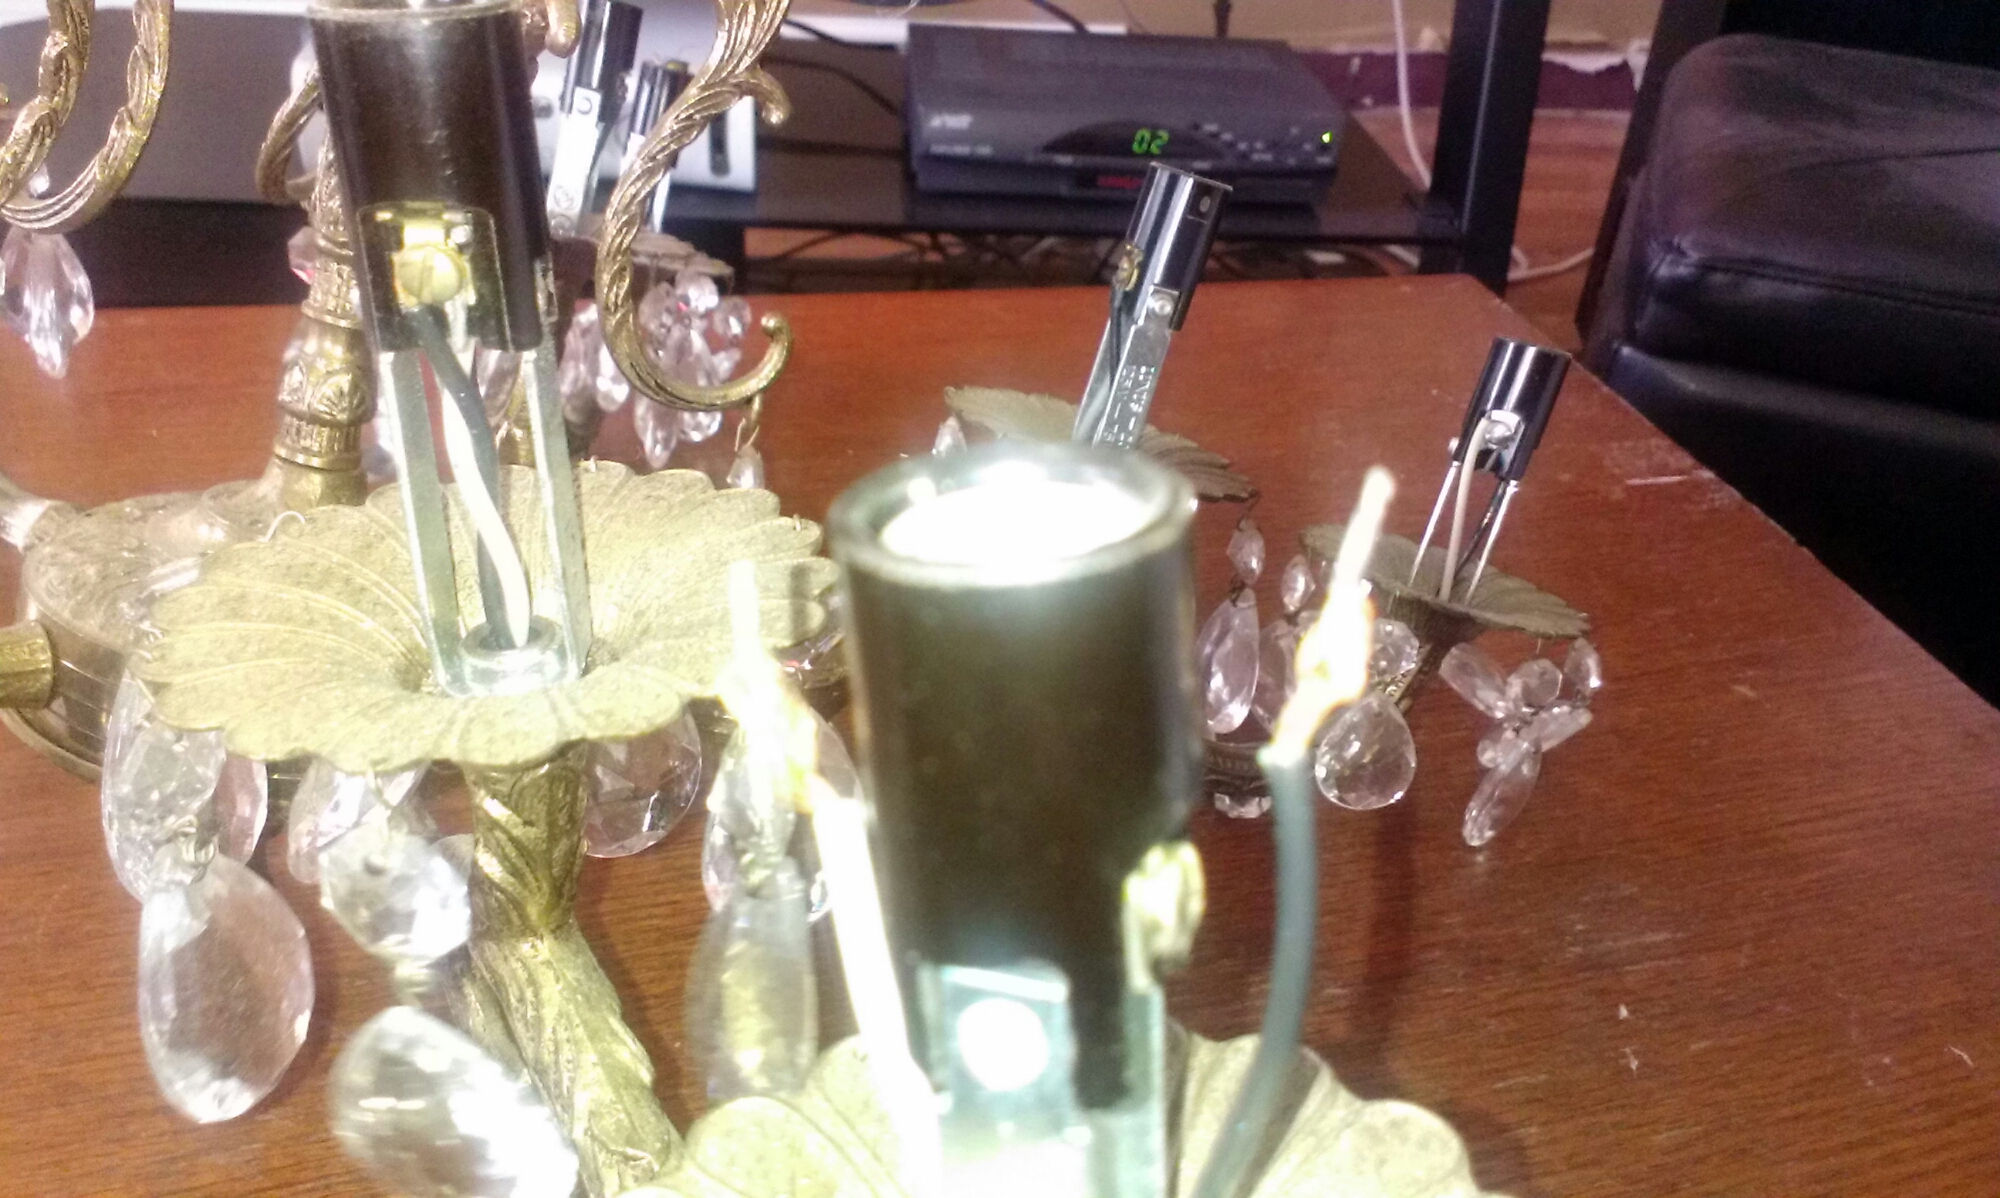
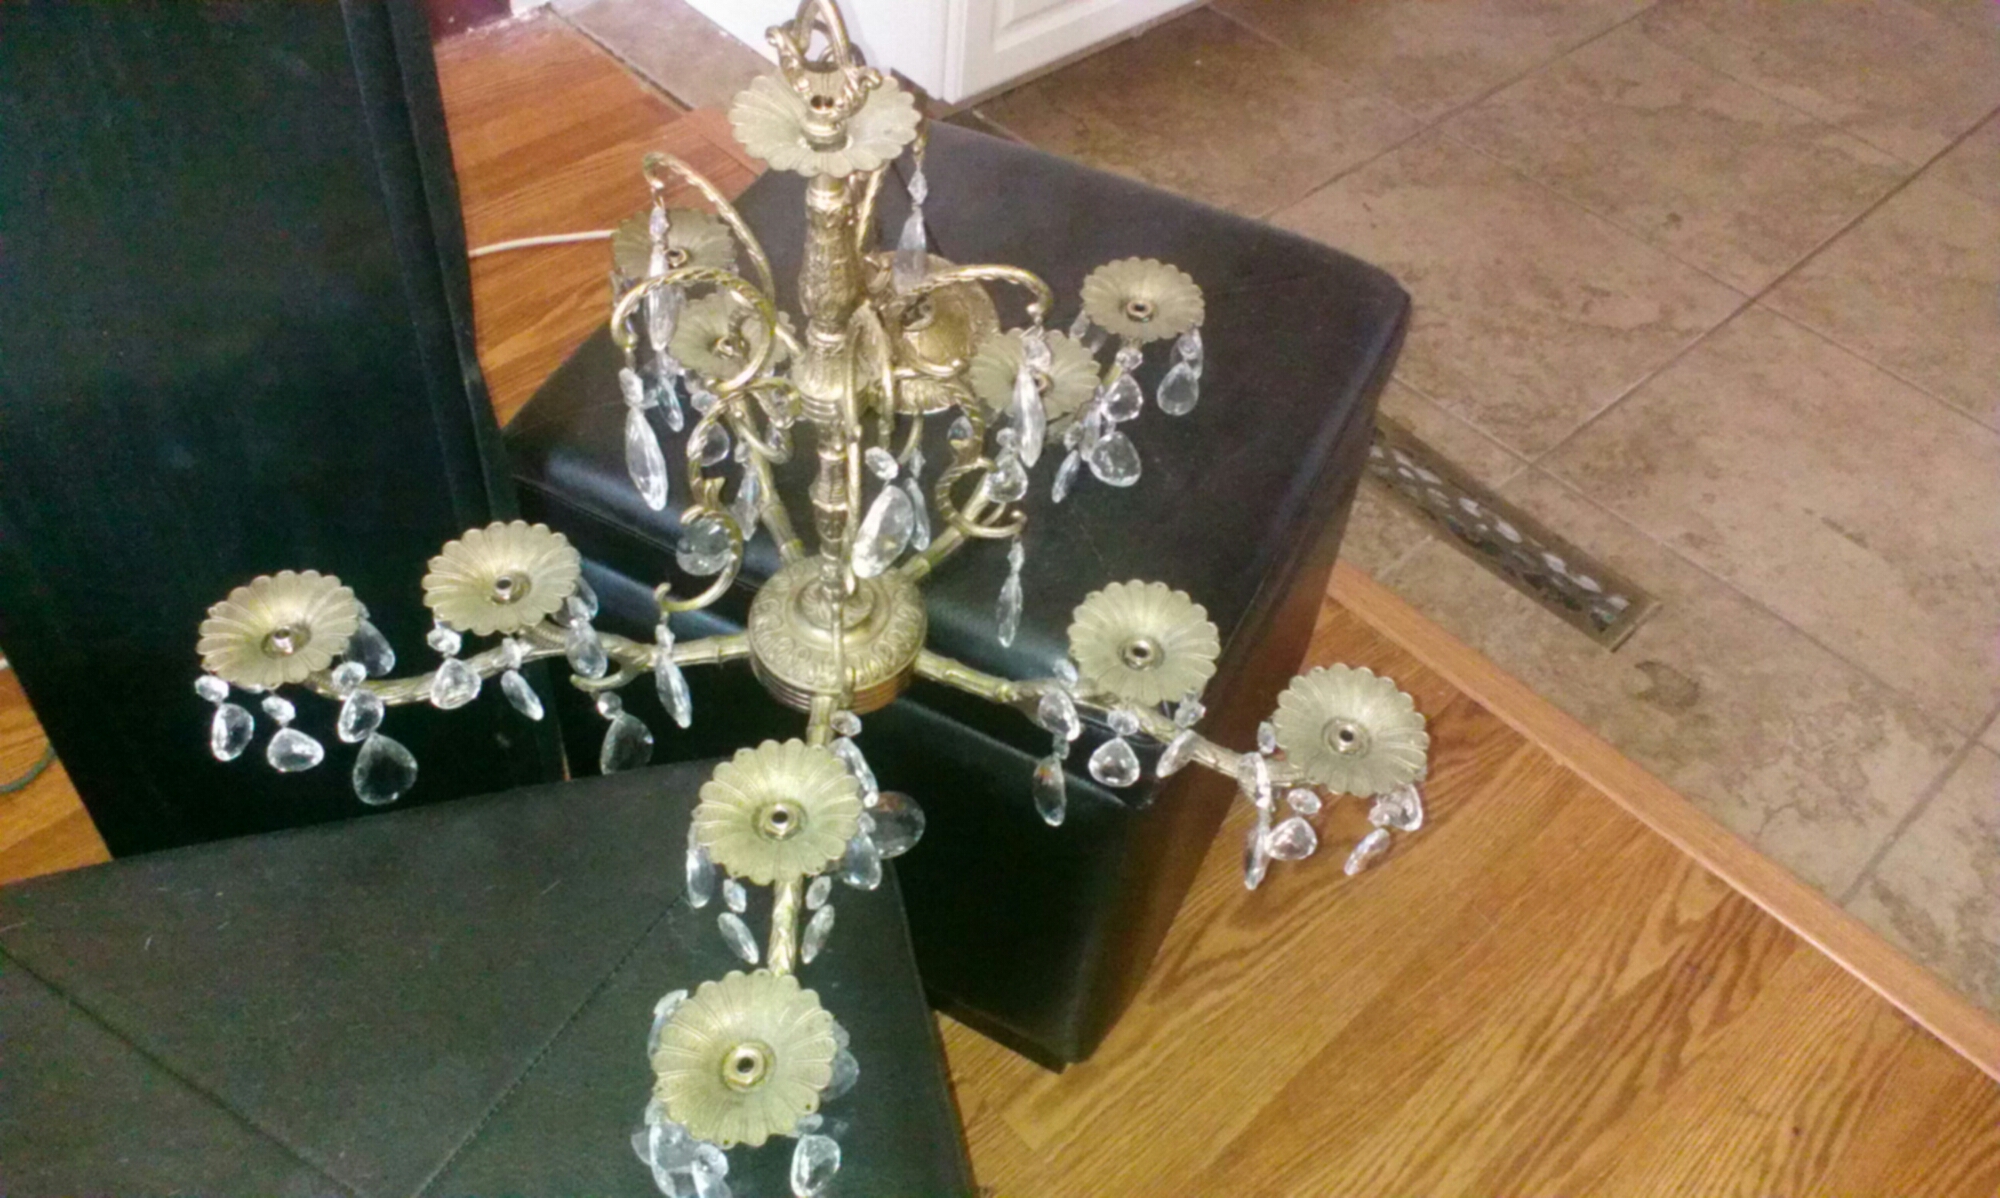
I had found this old chandelier along side the road last week.
Most of the”candles” were already partly stripped down.
To do so simply remove the bulb, slide the plastic past that is supposed to look like a candle up,and then slide the cardboard up. This exposes the wiring. I’ll go back to that in a little bit.
Next unscrew the center part of the chandelier and pull the wires out.
Next flip it over and remove the bottom.
Once the bottom is opened up and the wires are exposed remove the wire nuts and electrical tape. Unwind all of the wires.
Disconnect the wires from each part of the fixture and pull them out. Reassemble the chandelier without the wiring.
Once the wires are out of the way remove the inner part of the individual candles and replace them with the type of brass nuts used for lamps. You should be able to find these at your local hardware store.
After that the chandelier is ready for candles.
A new phone finally April 22, 2014
I just got a new phone so I will be able to do updates on a more regular basis again.
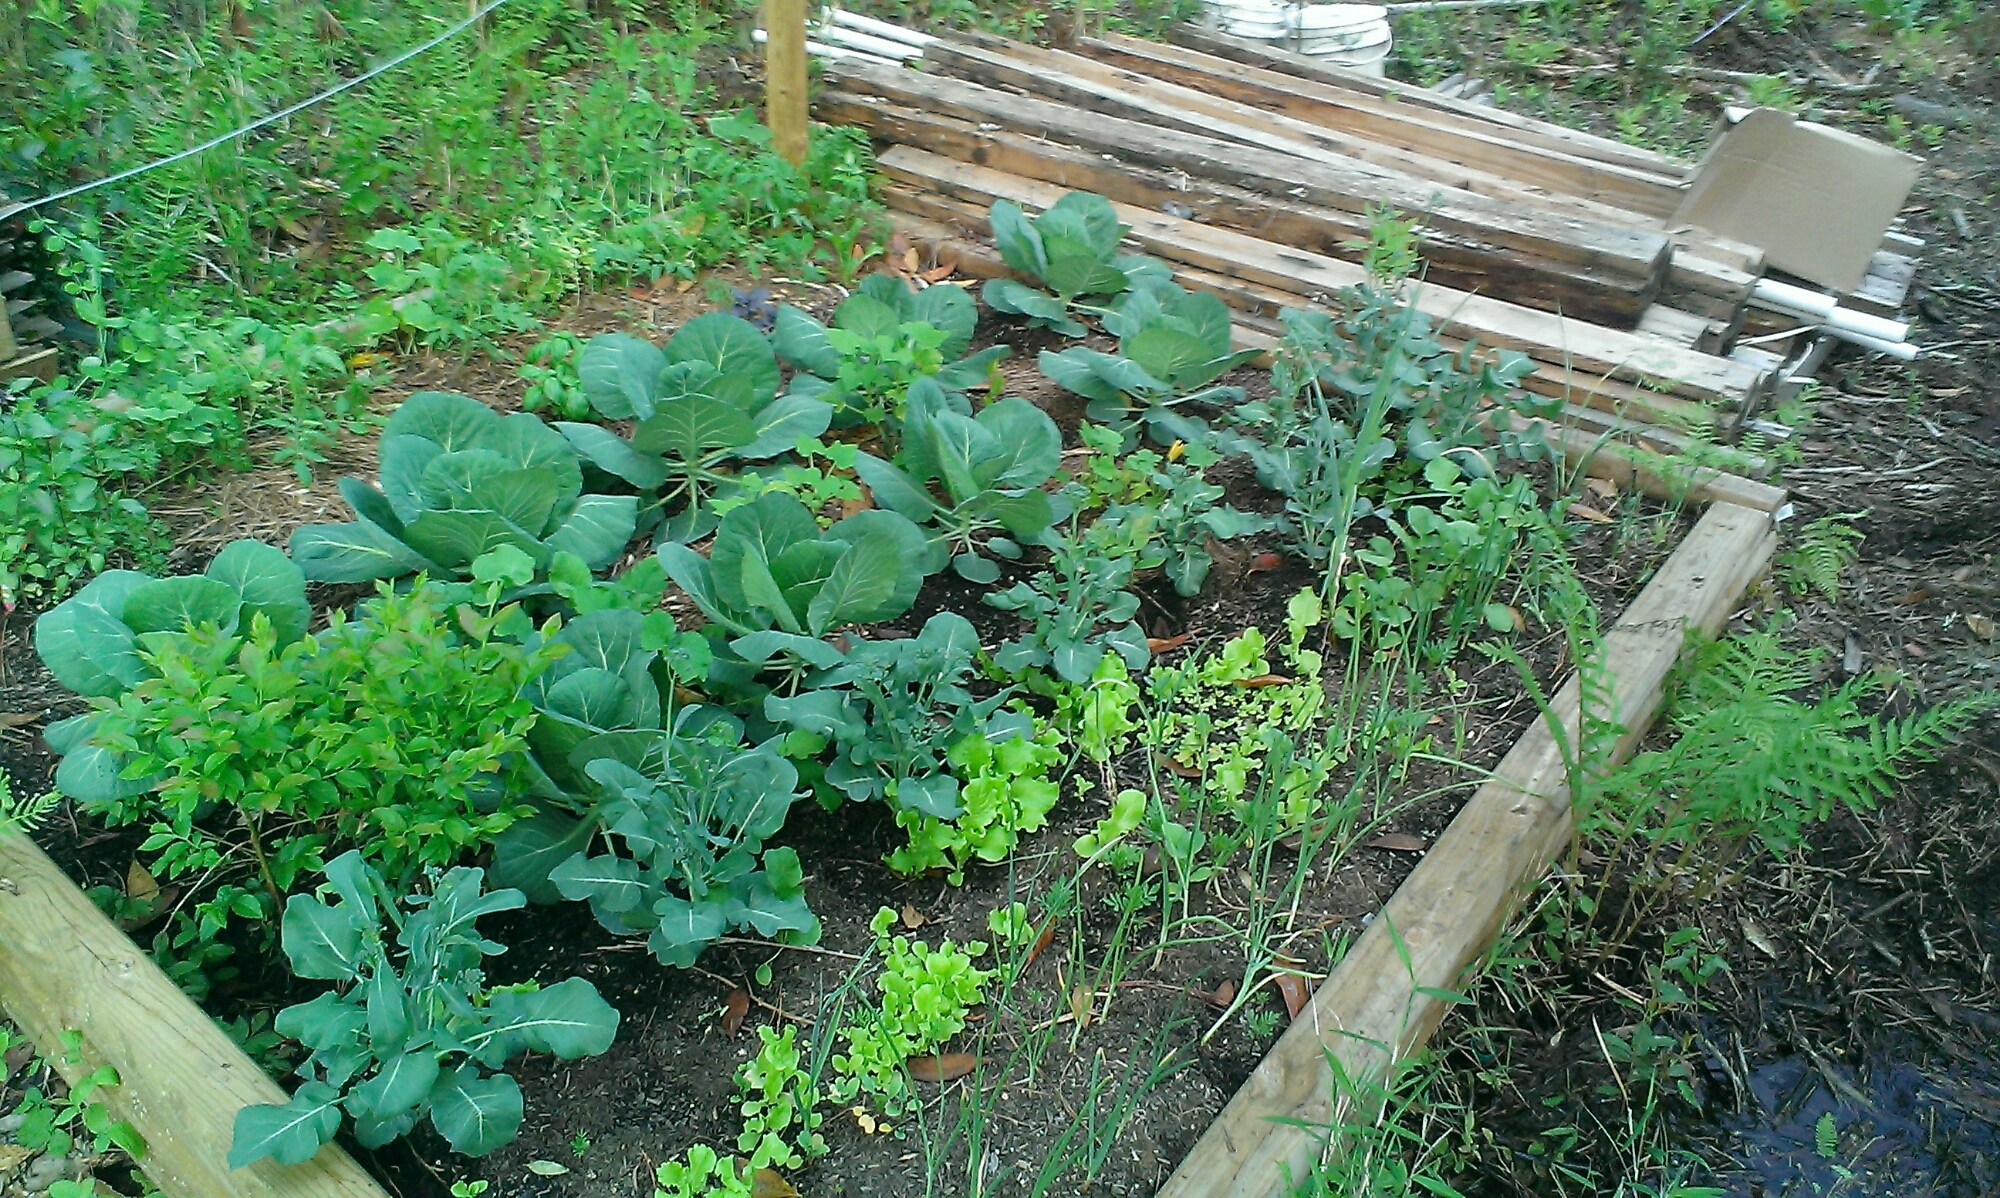
The veggies have a more formal raised bed now.
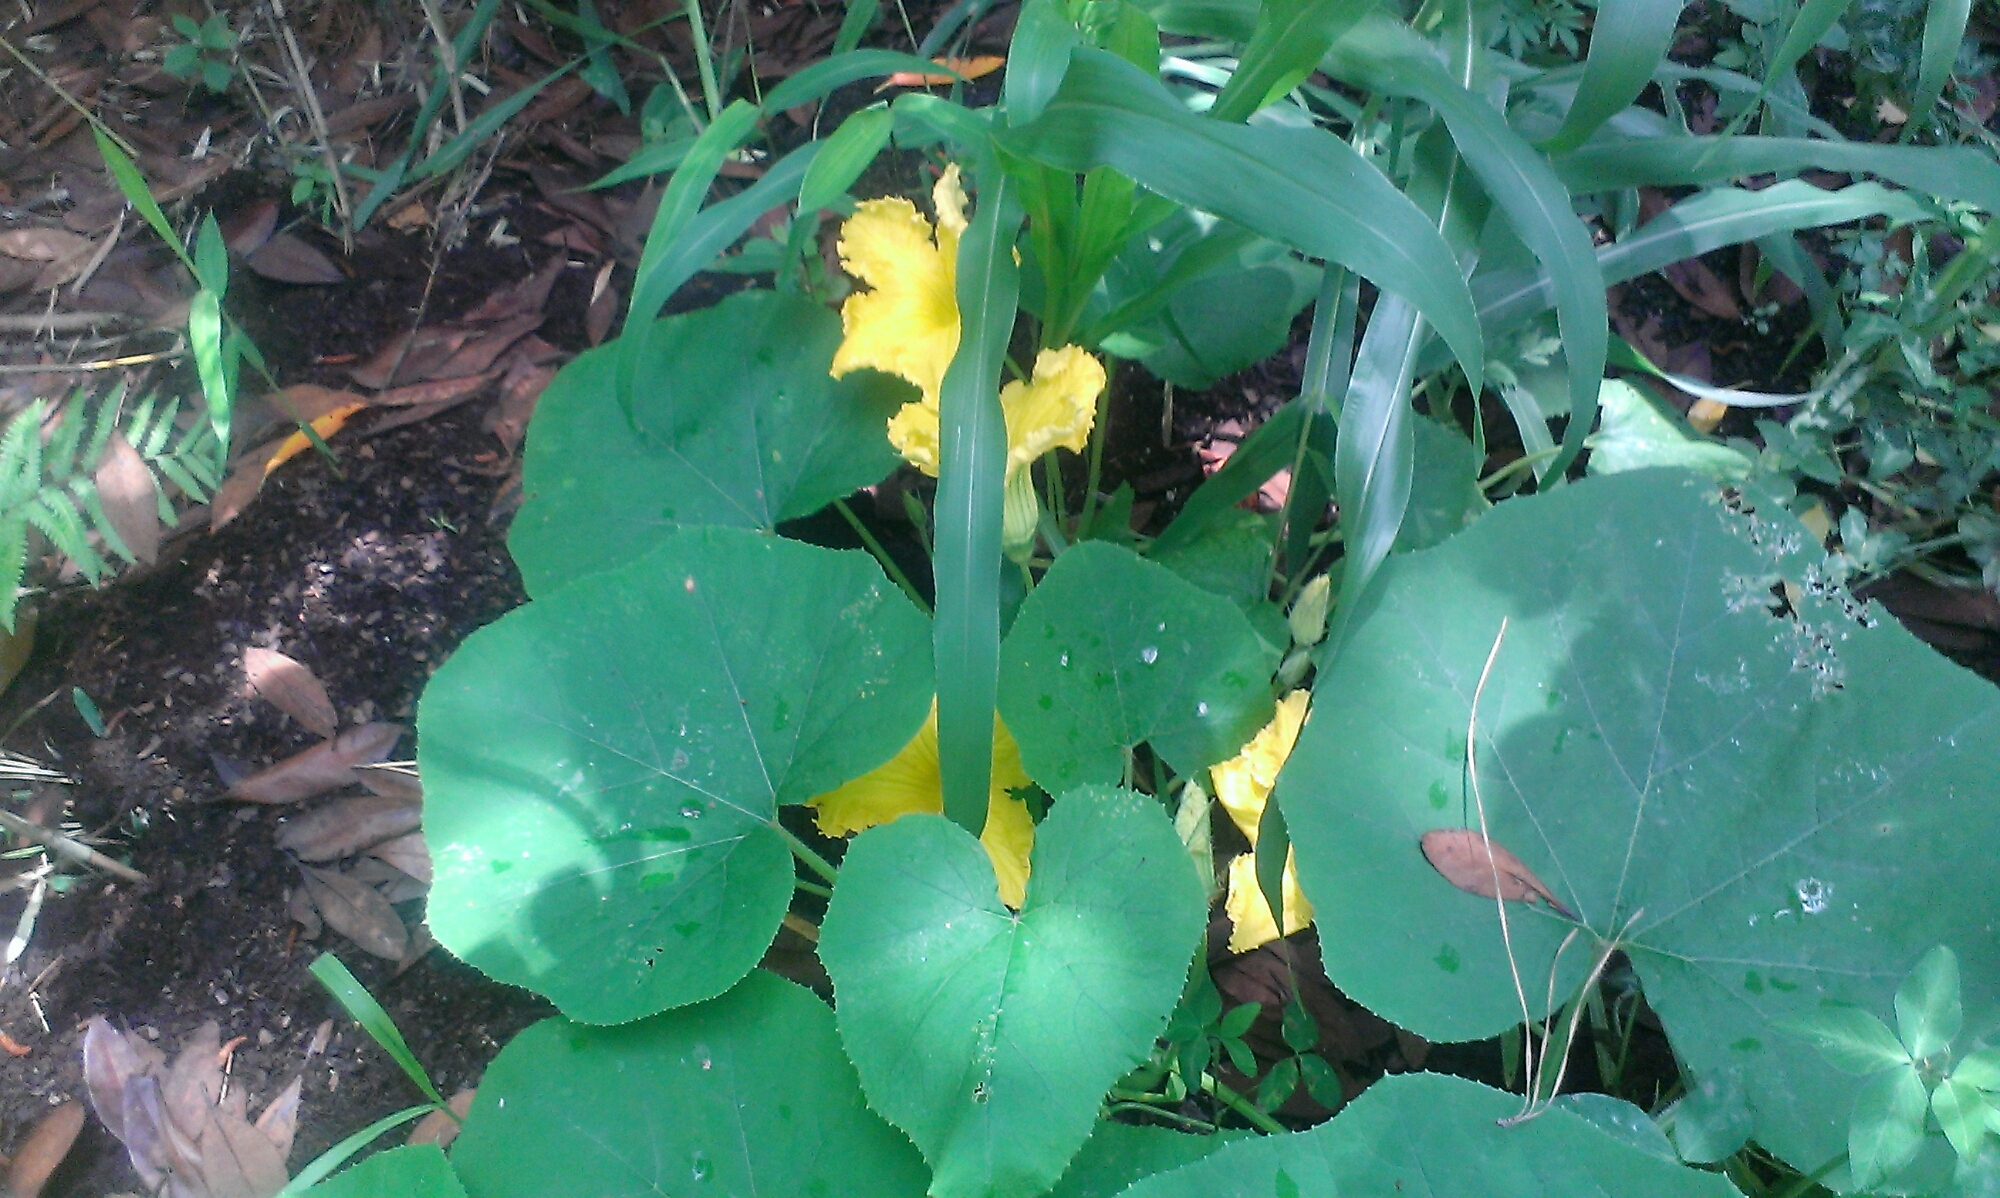
Established areas are lush and thick. Newer additions have been added on.
Salad is growing…
And so are peaches.
Spring has sprung. More updates will be coming soon.
The Basics Of Companion Planting In A Vegetable Garden January 31, 2014
This is a nice basic guide to companion planting for the most common garden vegetables.
One of the ways to help your garden become more productive is to employ the principles of companion planting. Companion planting encompasses all of the relationships between plants that grow near or with each other. The key is in knowing which of those relationships are beneficial – and which can be harmful.
Some varieties benefit by being cultivated with others because of the nutrients they can provide to the soil and the companion plants. Beans are famous for helping corn grow better because they fix nitrogen levels in the soil, making it easy for the corn to soak it up.
Other plants provide support or shade for a different variety grown in close proximity – such as leaf lettuce inserted around tomatoes. As the tomatoes grow they provide valuable shade to the lettuce crop – and the lettuce in turn covers the soil as a live mulch.
Still another benefit can…
View original post 606 more words
Herb Garden Needs A Kitchen Near By! January 26, 2014
 Every kitchen needs at least 3 maybe more small Herb plots(Gardens).
Before rushing out to buy herb plants or herb seeds, consider this.
If you do not have a south facing window to provide strong sun light for your potted herbs, growing potted herbs will be a real challenge at best.
Herbs can be grouped into 3 classes.
1. Culinary herbs are probably the most useful to herb gardeners, having a wide range of uses in cooking. These herbs, because of their strong flavors, are generally used in small quantities to add flavor. Parsley, produced in the largest amount, is used mostly as a garnish. Next in popularity is sage — an important flavoring in pork sausage. Other popular culinary herbs include chives, thyme, savory, marjoram, mint, and basil.
2. Medicinal herbs have long been thought to have curative powers. But while present medical…
View original post 1,689 more words
I know it has been a while….
I haven’t updated or posted anything in months. 2013 was a tough year for me. I just wanted to let everyone know I have not given up. I did end up taking the wordpress app off of my phone because it was taking up too much space. Ultimately I need to upgrade my phone. For now it is a bit of a hassle to post pictures but I do have internet again so I can make posts from my laptop, which is what I am doing today. If you would like to see more recent pictures of what is going on along with other information on gardening and natural building please visit https://www.facebook.com/revivalnatural Here are a few fall/winter garden pics. Here in the Charleston, SC area plenty of things stay green all winter 🙂
Garden aquaculture June 24, 2013
There were some roots to battle but like most ponds mine started with digging a hole.
The hole was then lined with cardboard boxes taken from a store dumpster, a blue tarp found along the side of the road, and finally a pond liner. The liner is part of a poond kit I bought on clearance over the winter. The fake lilypads were part of the kit as well. I also added a small formed plastic part to help form a small waterfall. Shallow areas got a thin layer of pebbles.
I added plants and fish soon after that. There are some real lilypads in the deep area. The more shallow areas got a mix of pond plants and plants usually used in aquariums. Within a day of adding the first plants a toad came in and laid eggs. You can tell they are from a toad, not a frog, because the eggs are laid in a chain instead of a cluster.
Less than a week later thousands of tiny tadpoles hatched.
I found a swamp hibiscus at a local nursery and added it to the edge of the pond as well. One of the secrets to a successful system is having a balance of fish and plants. The plants use the fish wastes which keeps algae overgrowth from becoming a problem.
Since this is a garden feature, as well as a place to grow fish, I am aranging stone around the waterfall. It isn’t completely pretty yet and you can see all of the stuff that makes it run. There are 2 solar powered water pumps and a solar powered air pump. The small solar pannels can be seen sitting on te rocks around the waterfall area. I would like to buy a bigger solar pannel and put a battery in to store the energy so the pond will circulate at night but it is fine for now. The real secret to keeping water oxygenated enough for fish is to have a large surface to volume ratio. That is part of the reason for the large shallow areas in the pond. These areas also give space for shallow water plants to live with just their toes in the water and a safe, warm area for baby fish and tadpoles to hang out.
These are not the fish in my pond, but the grown up version of one species. These golden talapia are a great food fish and capable of surviving a variety of water conditions. I have several babies in the 1-2″ size range (I think there are 7) in my pond. I have also added tropical fish including paradise fish, white skirt tetras, black fin neons, and tiger barbs. The tropical fish will thrive and breed over the summer but when cooler weather gets here I will have to either set up an indoor aquarium, adda a heater to the pond, or sell the originals and their offspring to a fish store. Most tropicals will thrive but eat less during the winter with water temperatures as low as the mid-low 60s. They will slow growth and eat less in cooler conditions so expect that if over wintering tropical fish in an outdoor pond. Temps much below that will kill most tropicals so there does need to be a plan for their safe keeping.
I am still waiting for the lilypads and other plants purchased dormant to grow but the rest of the stones are in place around the edge. I will tweek things a little, especially around the waterfall but for now it is complete. I’m sure I will add more plants and maybe try growing lettuce floating around on top or some other such craziness but I am already enjoying my little pond. It is both an attractive garden feature and a place to grow fish for both food and sale in the aquarium trade. Total for supplies, including pond kit with liner, waterfall liner, water pumps, air pump, stones, plants and fish is less than $200. This is because I buy things on sale or clearance. The pond is about 5’x8′ and 3′ or so deep in the center. It is home to a variety of life already and I can’t wait to see how it changes as nature works its wonders.
Happy birthday to me February 11, 2013
Everyone kept asking what I had planned for my birthday and I kept telling them nothing. Apparently they thought this meant I would be available to be suprised. Me having nothing planned for my birthday really just meant I had nothing planned that would normally be considered a special, birthday related activity. My friend Nicole, who I am staying with came out to bring me a birthday muffin and I was already gone to buy plant tags and then transplant seedling to my property. Once everyone tracked me down I had to come home and make myself somewhat presentable before heading downtown to eat and explore the shops. We had a good time AND I got my cold weather veggies transplanted. What more could a girl want 🙂
February 9, 2013
We raised bunnies when I was a child and I would like to raise them again. Housing is simple and can be made inexpensively and I like rabbit meat. The manure is great for gardens or wormbeds too.

Warm weather is upon us. It’s time to build that Rabbit Hutch that you have been thinking about all winter.
I had no idea how many worthless websites advertise ‘Free’ rabbit hutch and cage plans I would find on a google search. A full 95% are totally useless or bait and switch sites in an attempt to sell you something you can easily build for 1/4 their list price not to mention the cost of shipping.
Below is a list of good sites that I hope you will find useful.
Woodworkers Workshop Rabbit cage and nest box plans
Bass Equipment Supplier of rabbit cages, feeders and waterer’s Bass Equipment
Rabbits your secret survival tool in these uncertain economic times. Low wages, fewer hours on the job, higher food cost, rent and utilities increasing almost every month. How will you survive? The answer is a simple one, add rabbits to your…
View original post 698 more words
Meet Jerry January 29, 2013


Jerry is a 35 year old African Land Tortise. He weighs oover 200 pounds and is still growing. They live over a hundred years. Jerry is part of a rescue group visiting from North Carolina. He is one of 6 on tour at this time. I saw him at the hardware store in Ravenel, SC. He and his friends will be there taking donations the rest of the day before heading toward Edisto tomorrow. If you are in the area stop by and check him out. Donations are accepted, appreciated, and help fund further rescues. The 6 on tour help fund care for over 30 animals. Even if you can’t make a donation stop in and learn about this wonderful prehistoric, living fosil of a creature. I learned today that unlike turtles tortise can not swim because they are too heavy. Who knew??? The man who raised Jerry from an egg, that’s who.
First strawberry plants January 27, 2013

I am sort of suprized to see this already but here it is. One of my little strawberry crowns has sent up a lovely set of leaves. I didn’t expect to see anything this quickly.


